
Ready to fold a festive and fun origami project? Let’s learn how to make this origami Santa, designed by Nick Robinson.
This cheerful model is beginner-friendly and takes only about 5 minutes to fold. Perfect for holiday decorations, gift toppers, or just spreading some festive cheer, it’s a simple way to add a personal touch to your Christmas celebrations.
Grab your origami paper, and let’s get started!
Origami Santa Step-by-Step Instructions
- Difficulty: Easy
- Folding time: 5 minutes
- Model designer: Nick Robinson
- Paper: Kami 15×15 cm

Step 1
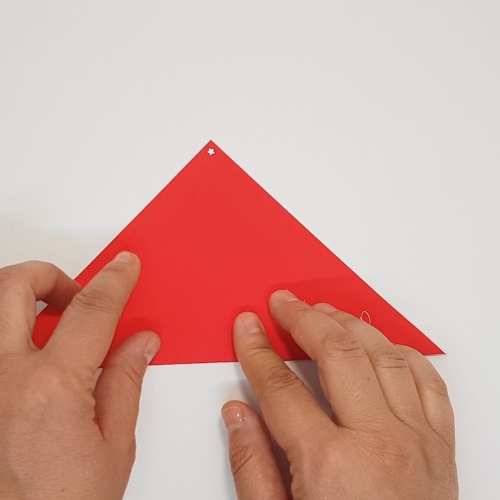
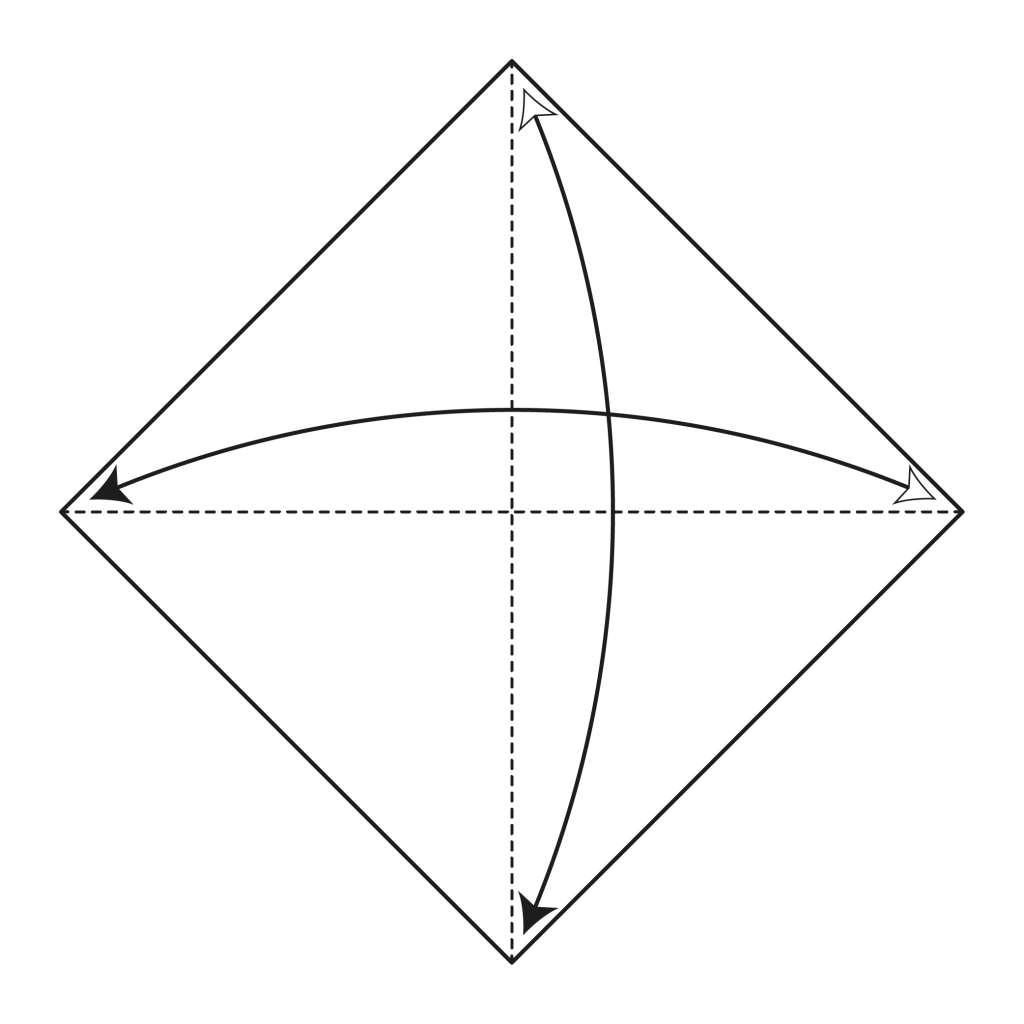
Fold and unfold along the diagonals.
Step 2
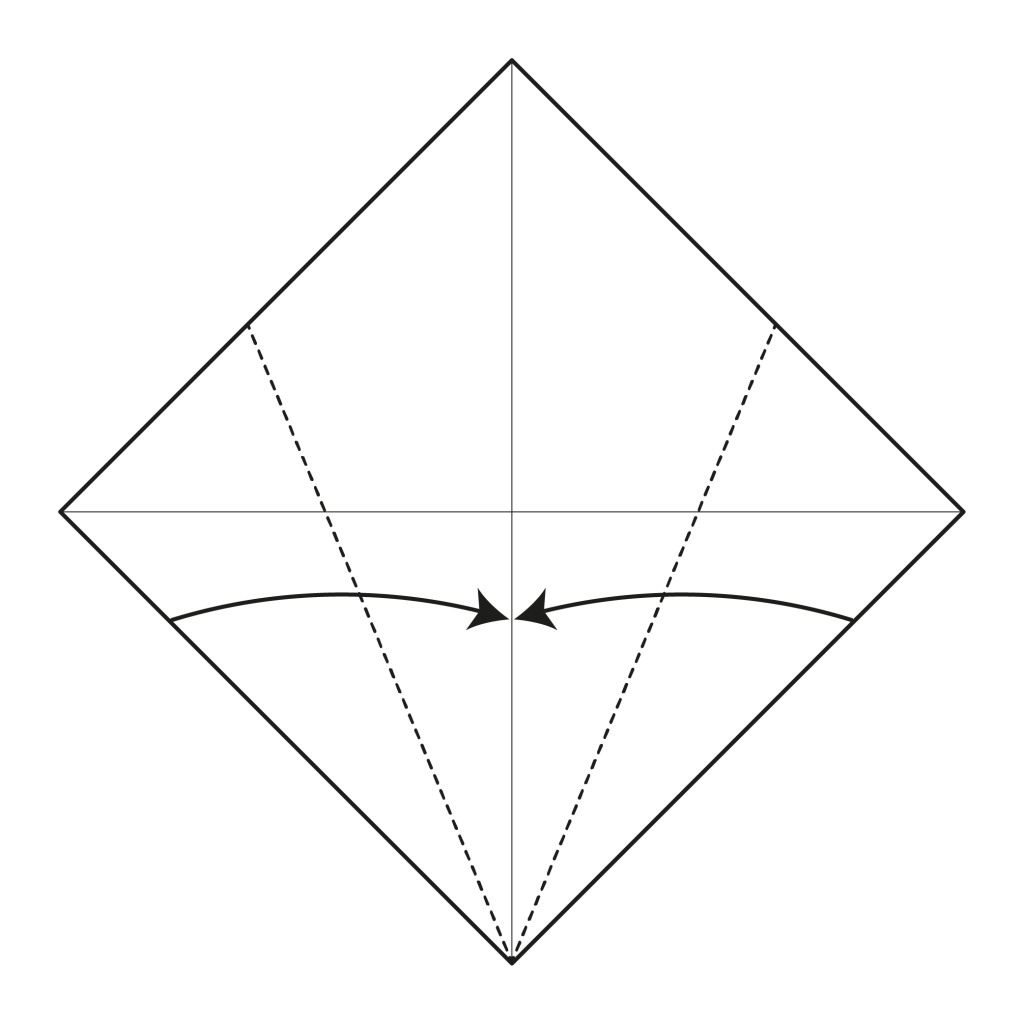
Fold the bottom-left and bottom-right edges to the center line.
Step 3

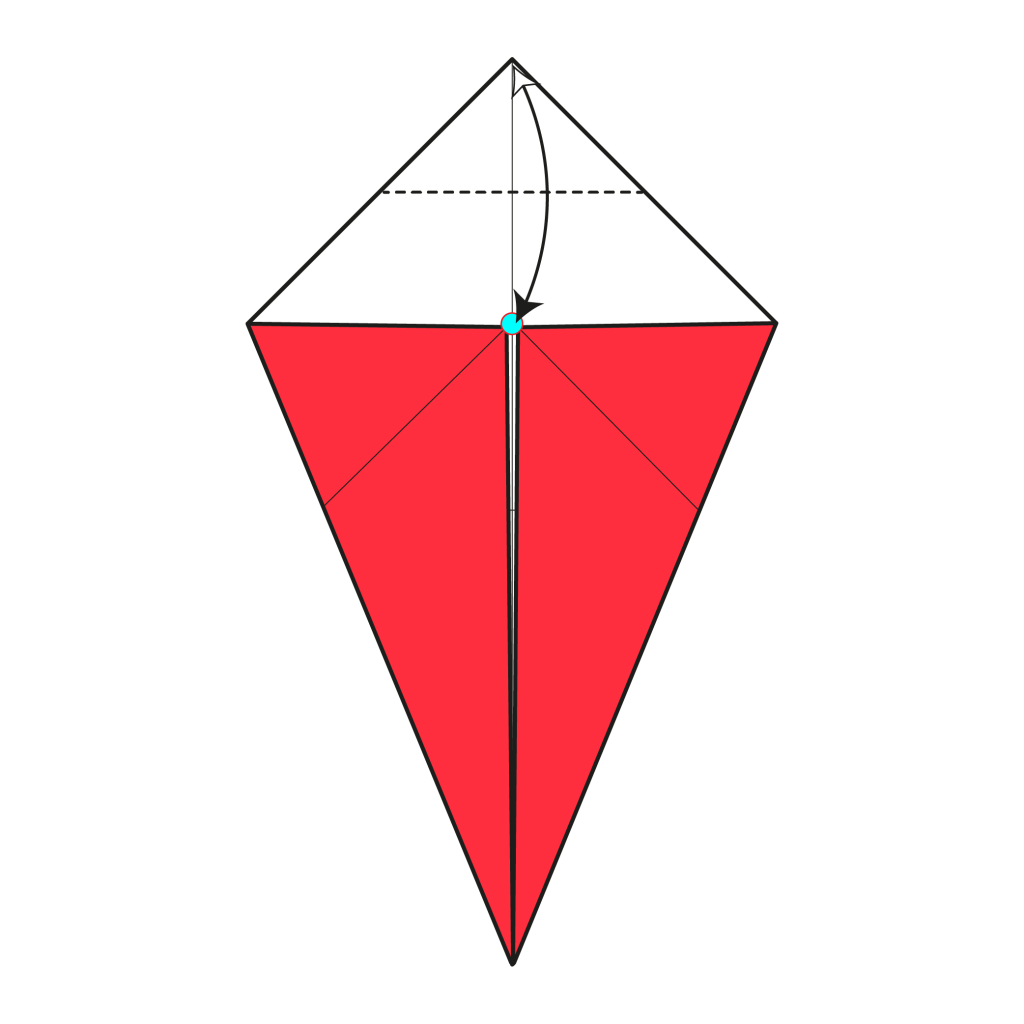
Fold the top corner to the colored edge.
Step 4

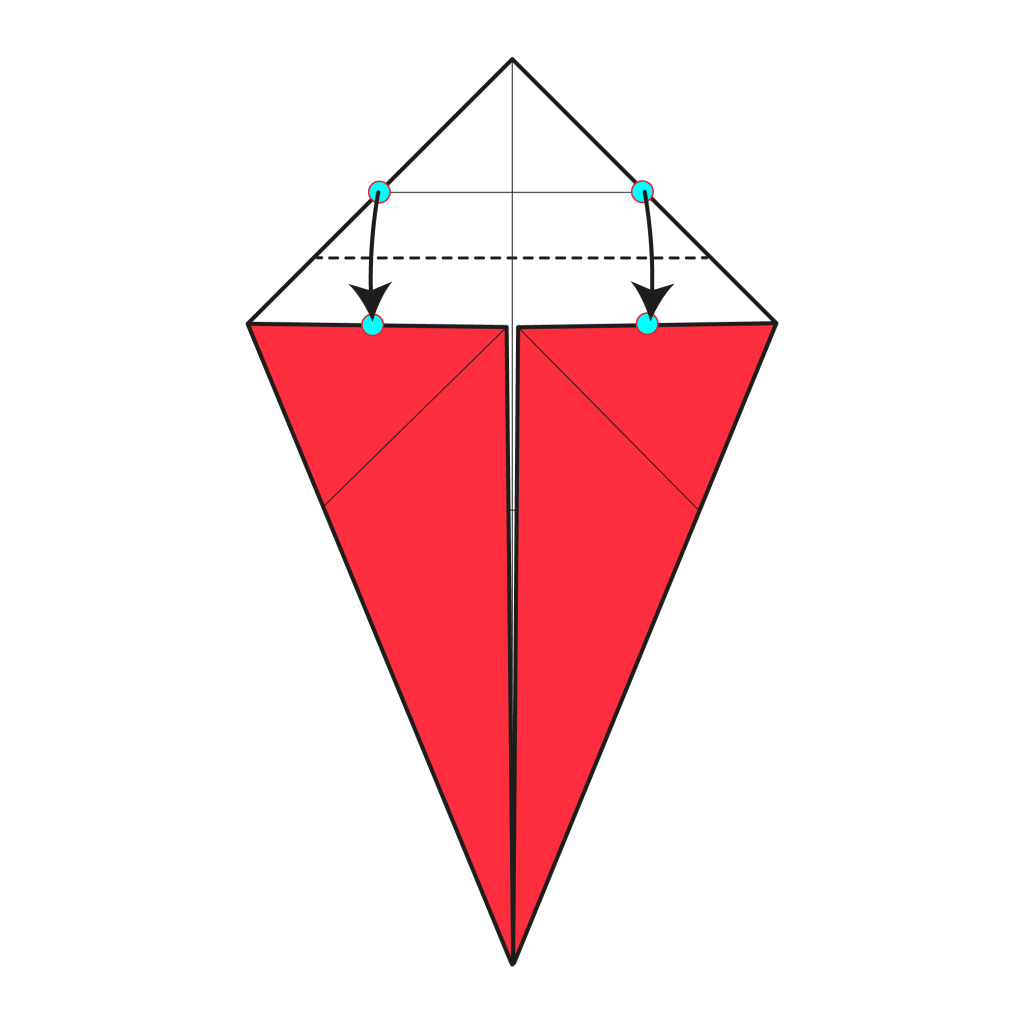
Fold so the crease created in Step 3 lines up with the colored edge.
Step 5

Fold the top flap bottom corner so it meets the crease created in Step 3.
Step 6

Fold the top flap bottom edge to the top edge. Here, we use the crease created in Step 3.
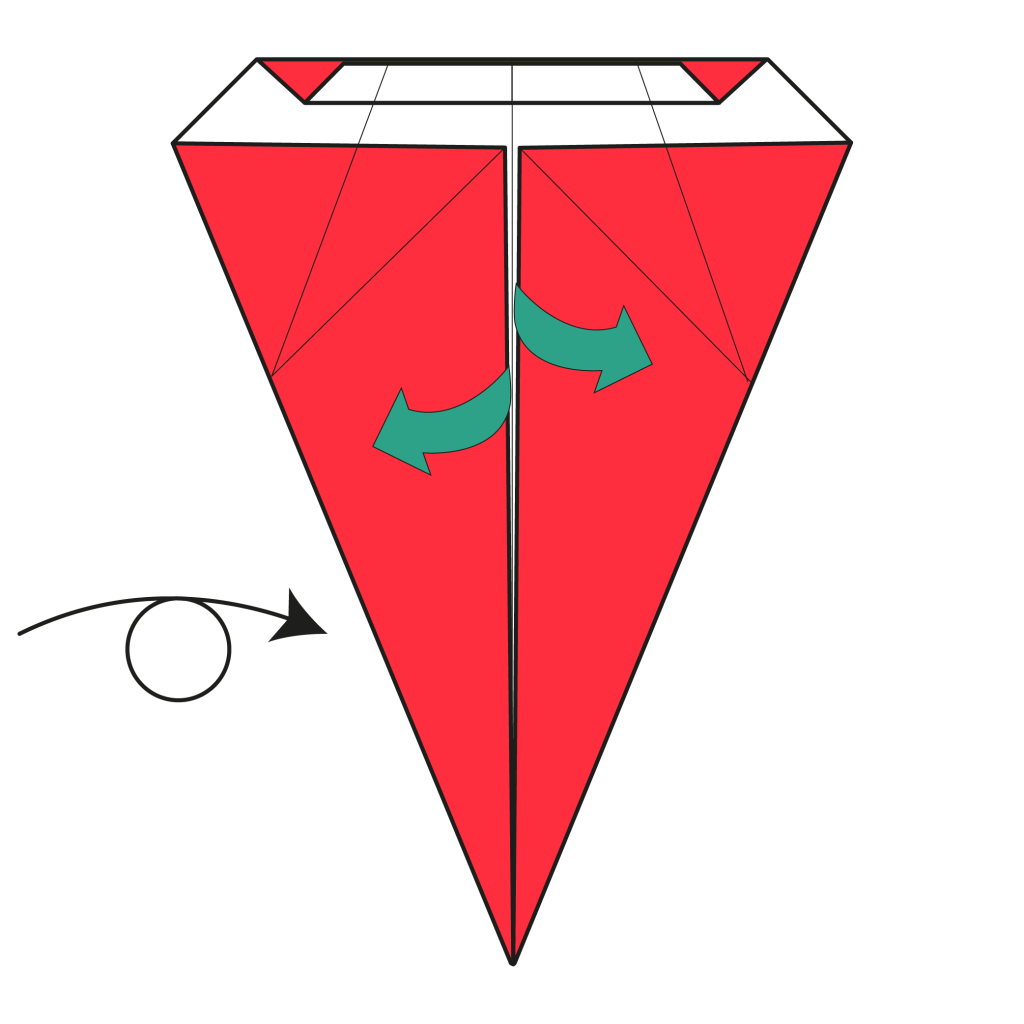
Step 7

Fold the top flap in half.
Step 8
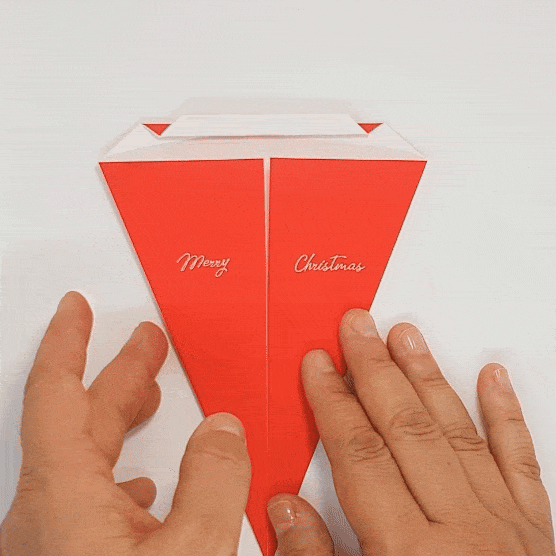
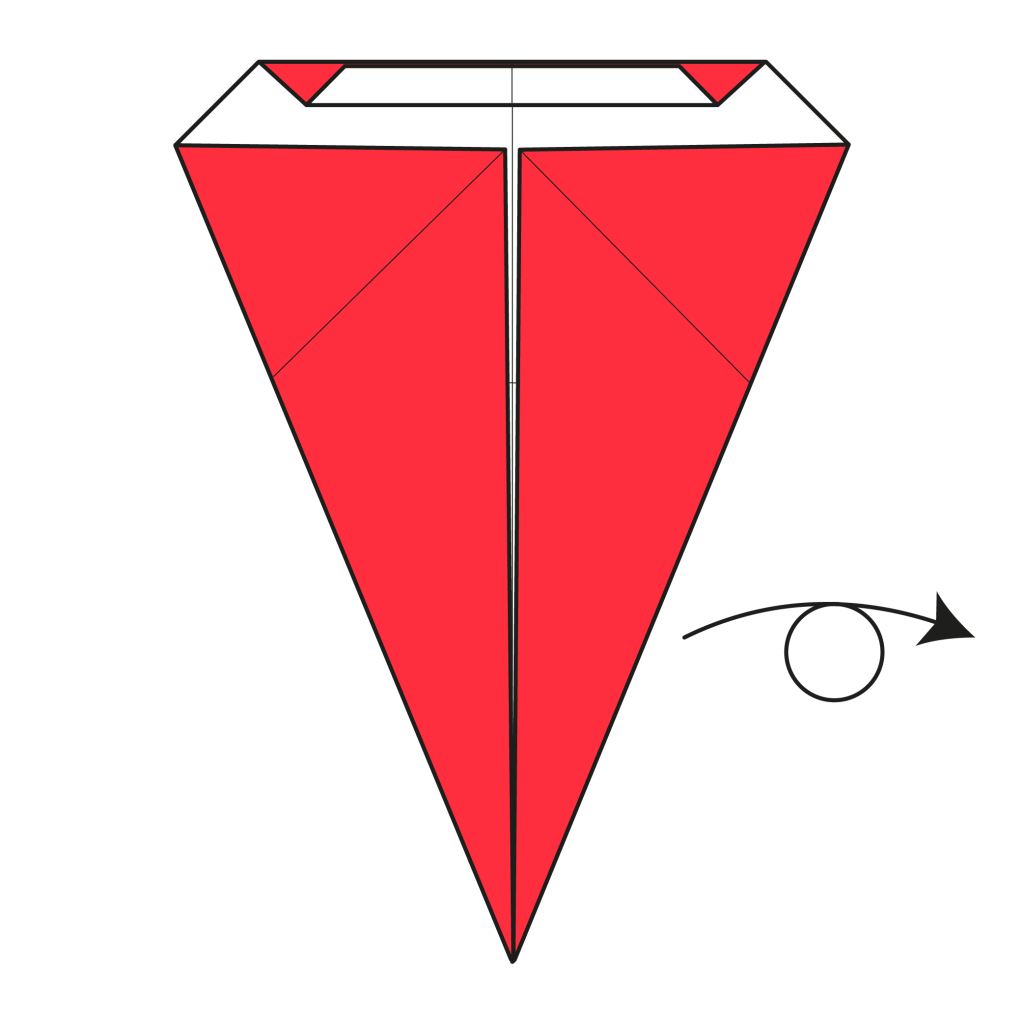
Turn the model over.
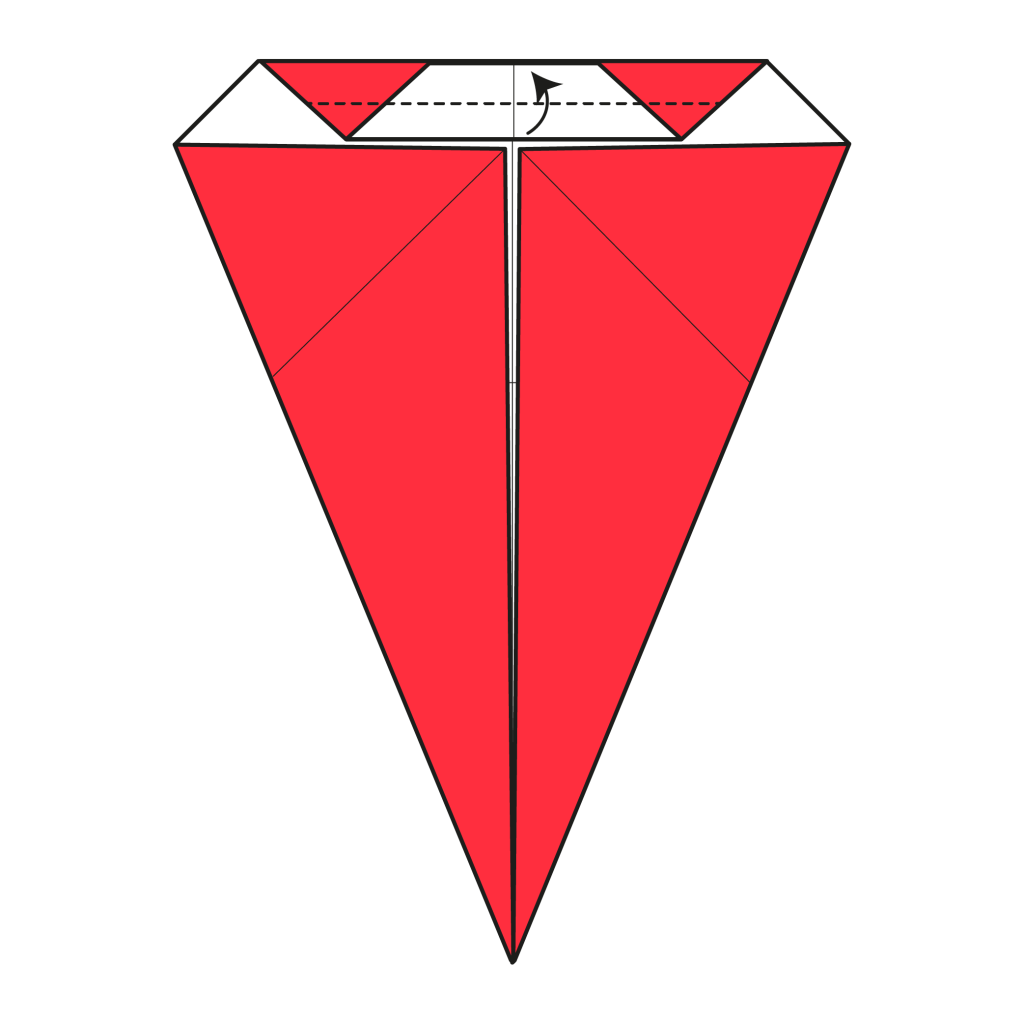
Step 9

Fold the short edges to the center line. Then unfold.
Step 10
Turn the model over. Then, open the two layers.
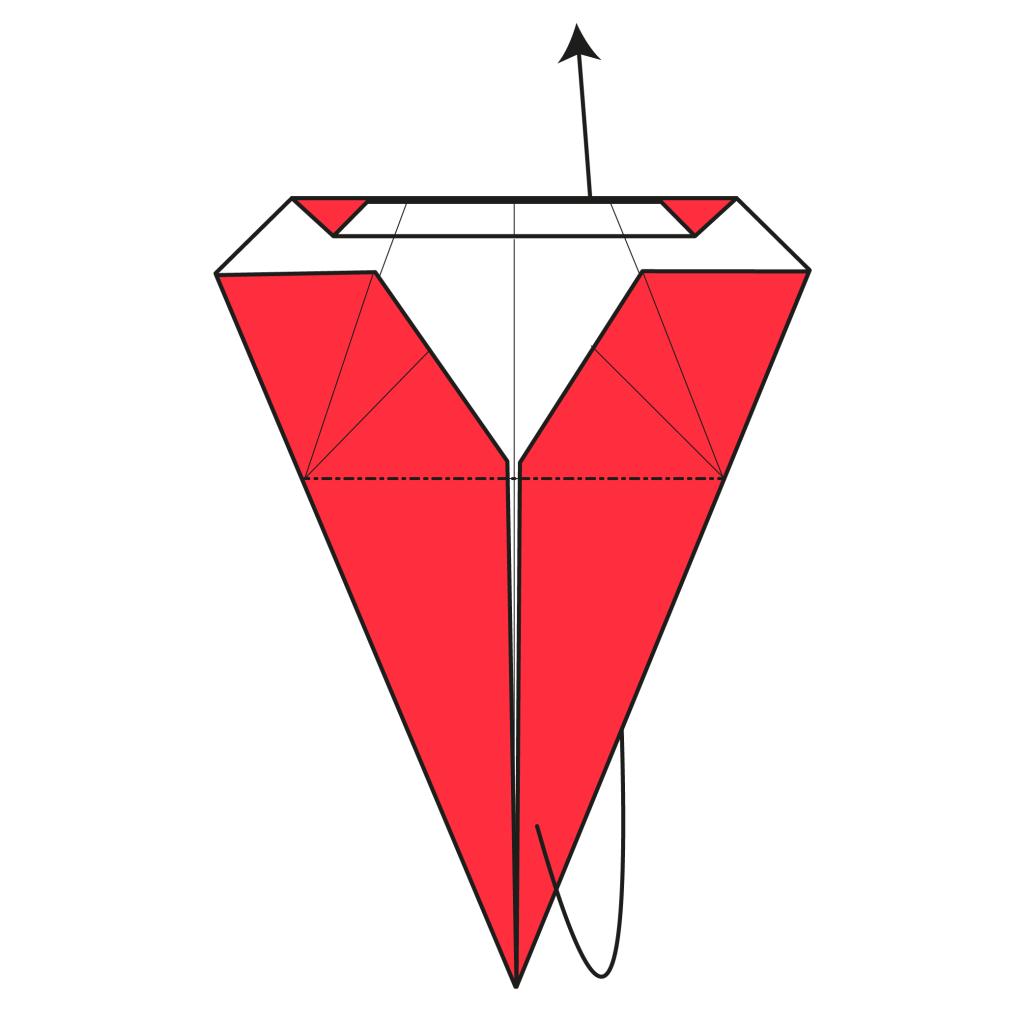
Step 11
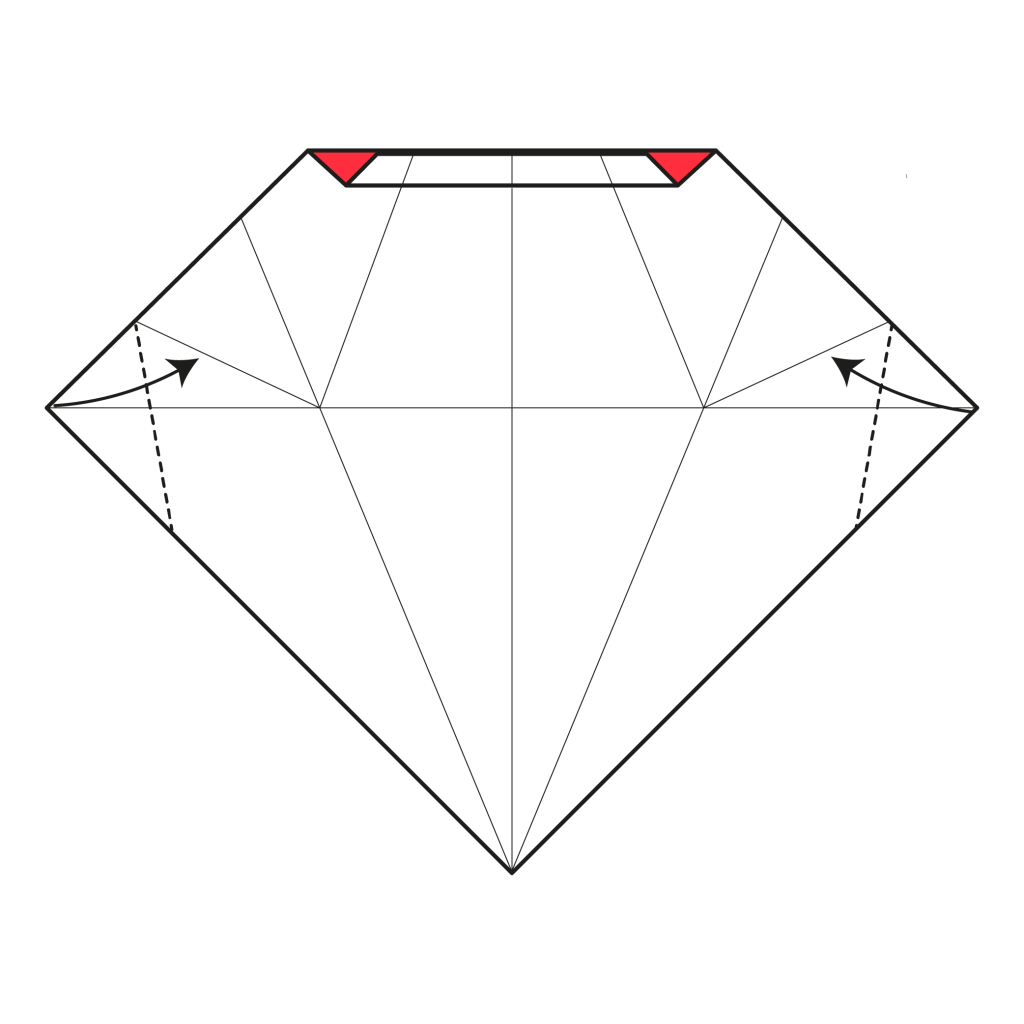
Fold the left and right corners to the nearest crease. The edge should align with the crease.
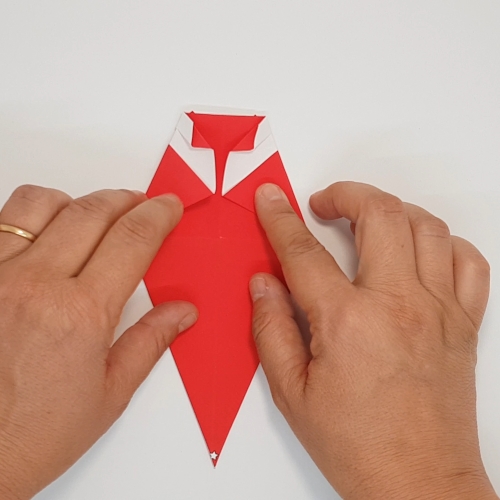
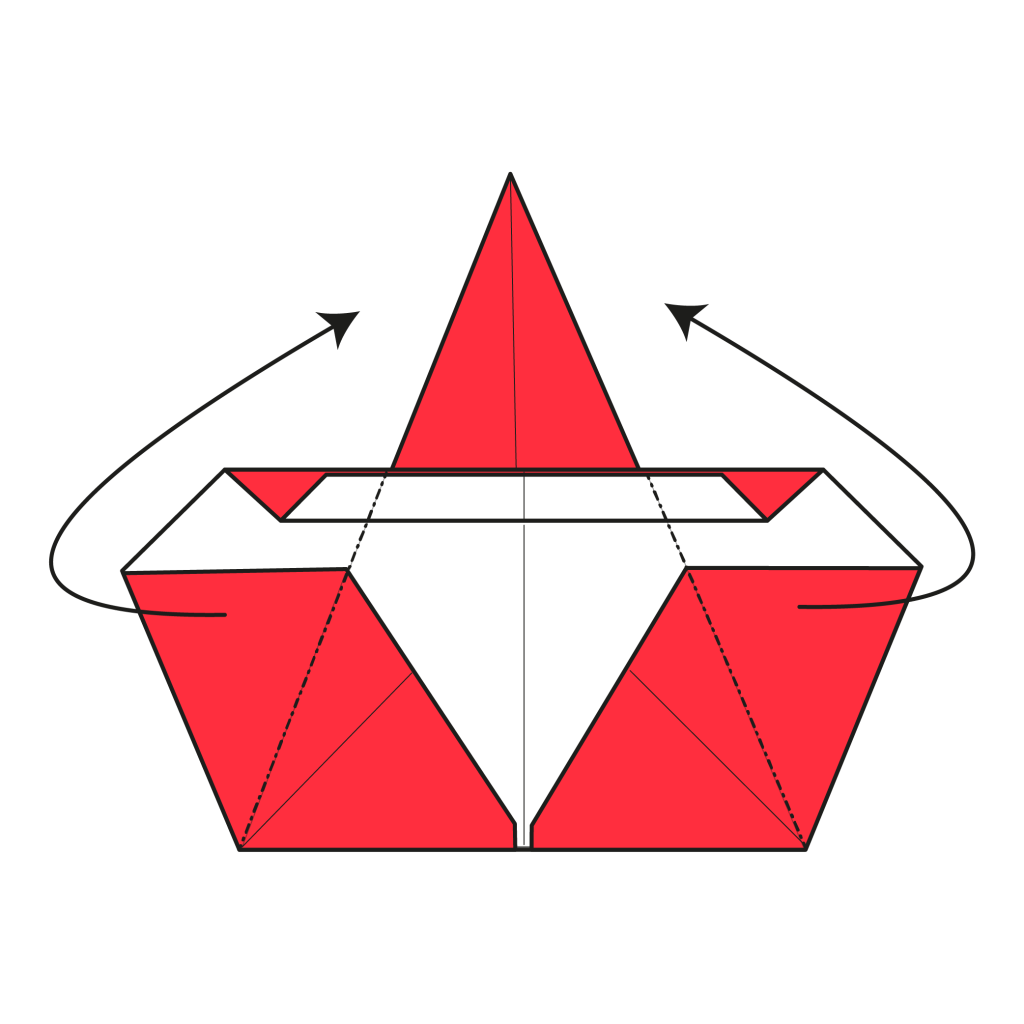
Step 12

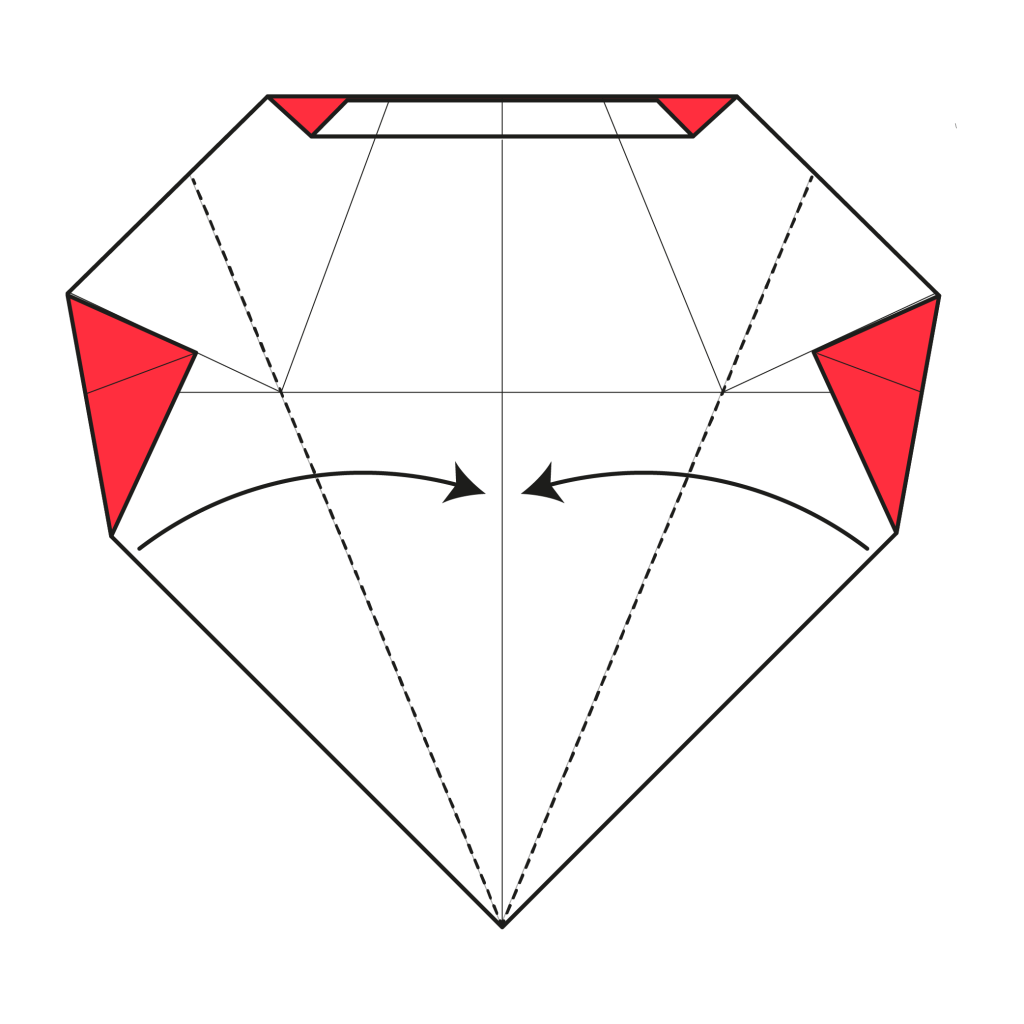
Refold the two layers we opened in Step 10.
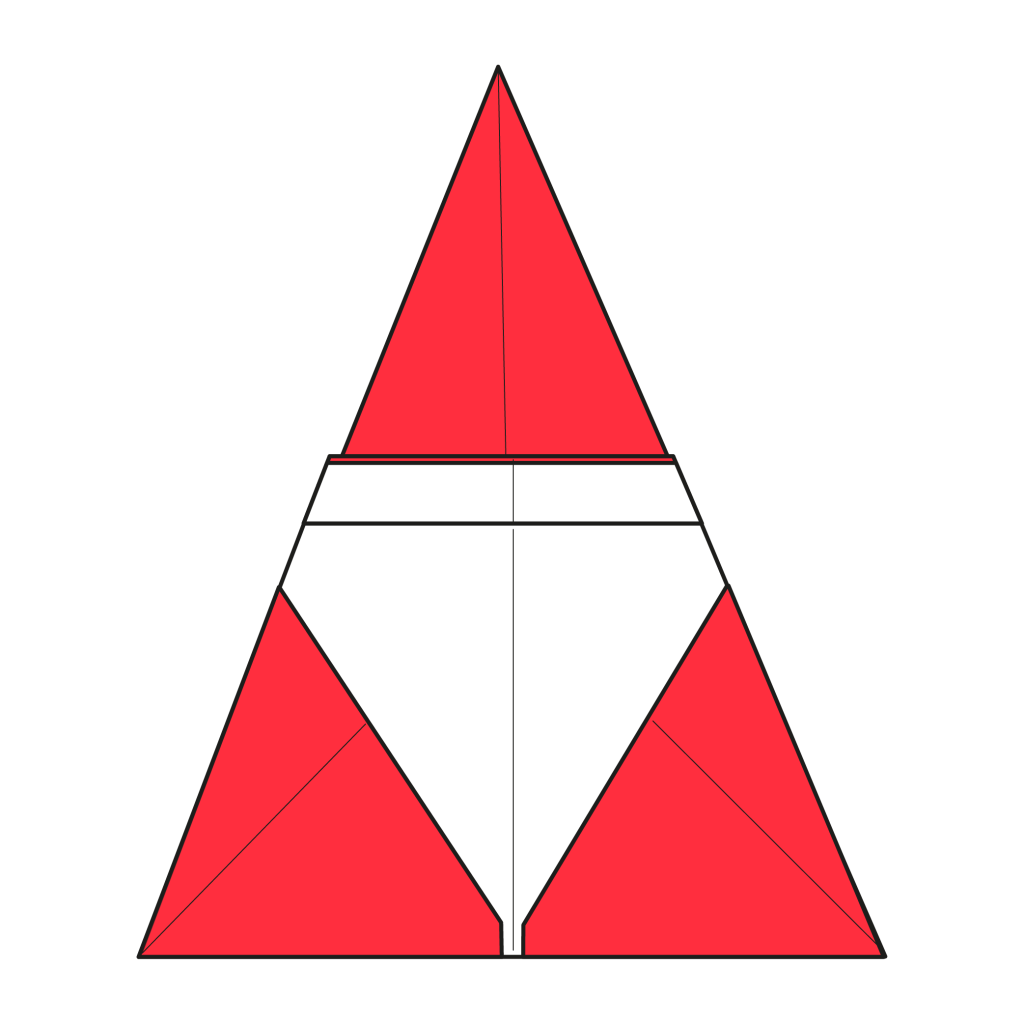
Step 13
Fold the lower flap behind. Use the existing creases as reference points.
Step 14
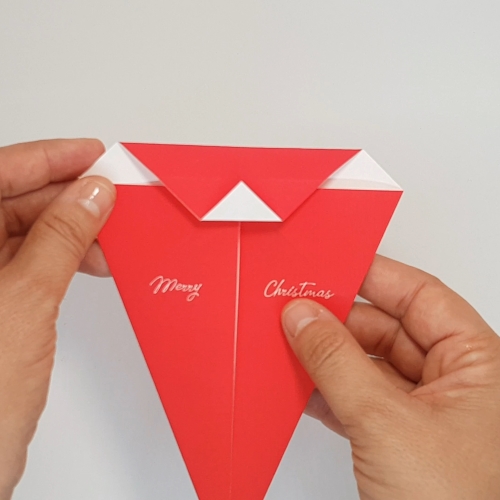
Fold the left and right flaps behind. You can keep them partly open to form a stand.
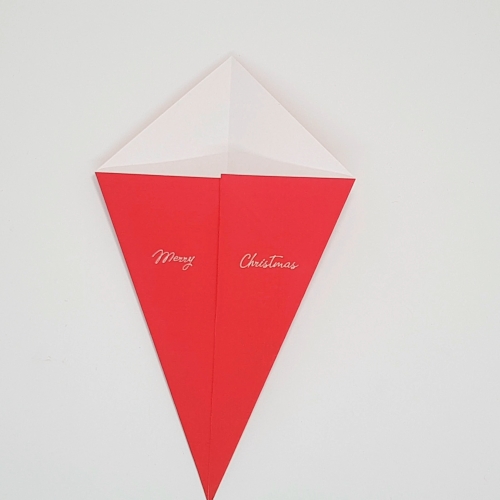
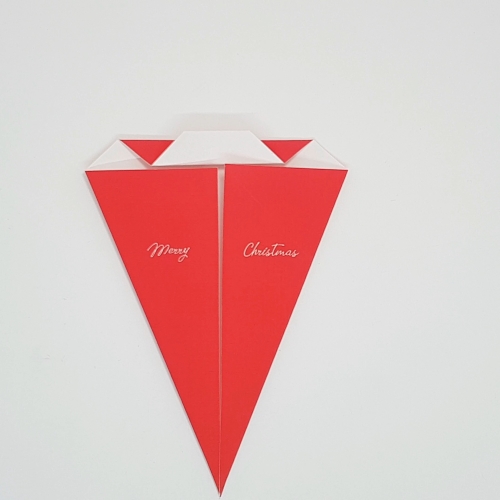
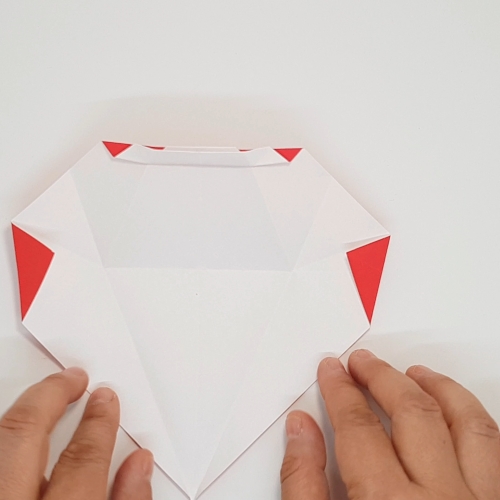
The Completed Origami Santa.
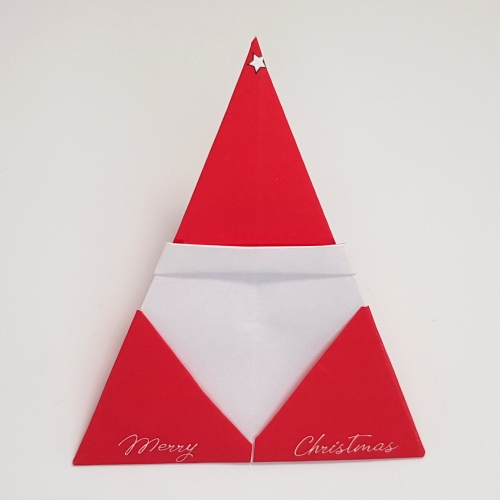
Congratulations on folding your very own paper Santa!
Whether it’s part of your holiday decor or a thoughtful handmade addition to a gift, your Santa is sure to bring smiles.
We’d love to see your creations, so feel free to share them in the comments or on social media. Happy holidays and happy folding!
Download the Full Origami Santa Printable PDF Instructions
We’d love to keep you in the loop, so by sharing your email with us, you’ll be signed up for our mailing list. Don’t worry; we won’t bombard you with spammy emails, and your information is safe with us – we won’t share it with anyone else.
The post How to Fold an Origami Santa appeared first on Origami.me.