
Are you in the mood for a fun and calming origami project? Let’s learn how to fold this origami angel designed by Nick Robinson.
This model is cute and super simple, making it perfect for beginners. With just a few folds and only about 5 minutes, you’ll create a lovely paper angel that’s great for holiday decorations, gift toppers, or as a thoughtful handmade token.
Grab your origami paper, and let’s get started!
Origami Angel Step-by-Step Instructions
- Difficulty: Easy
- Folding time: 5 minutes
- Model designer: Nick Robinson (visit his website here)
- Paper: Kami 15×15 cm

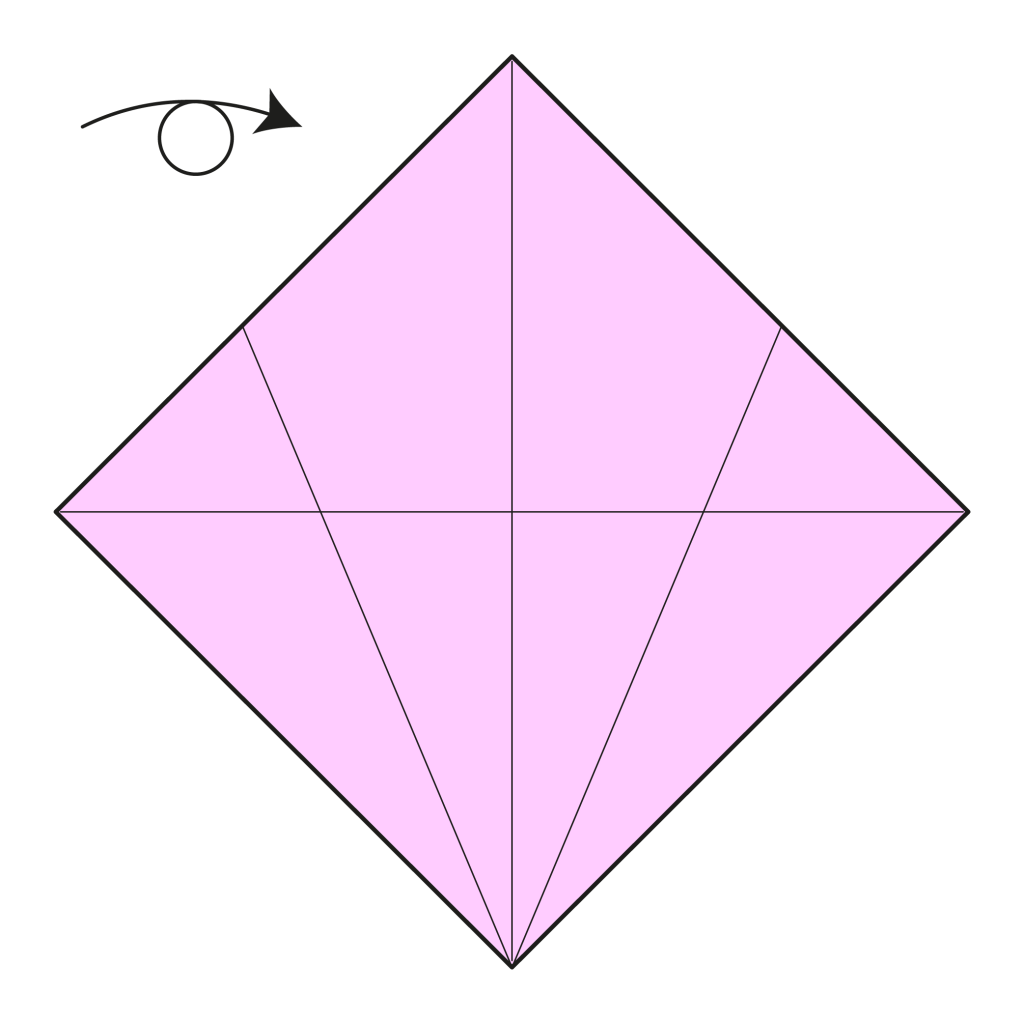
Step 1

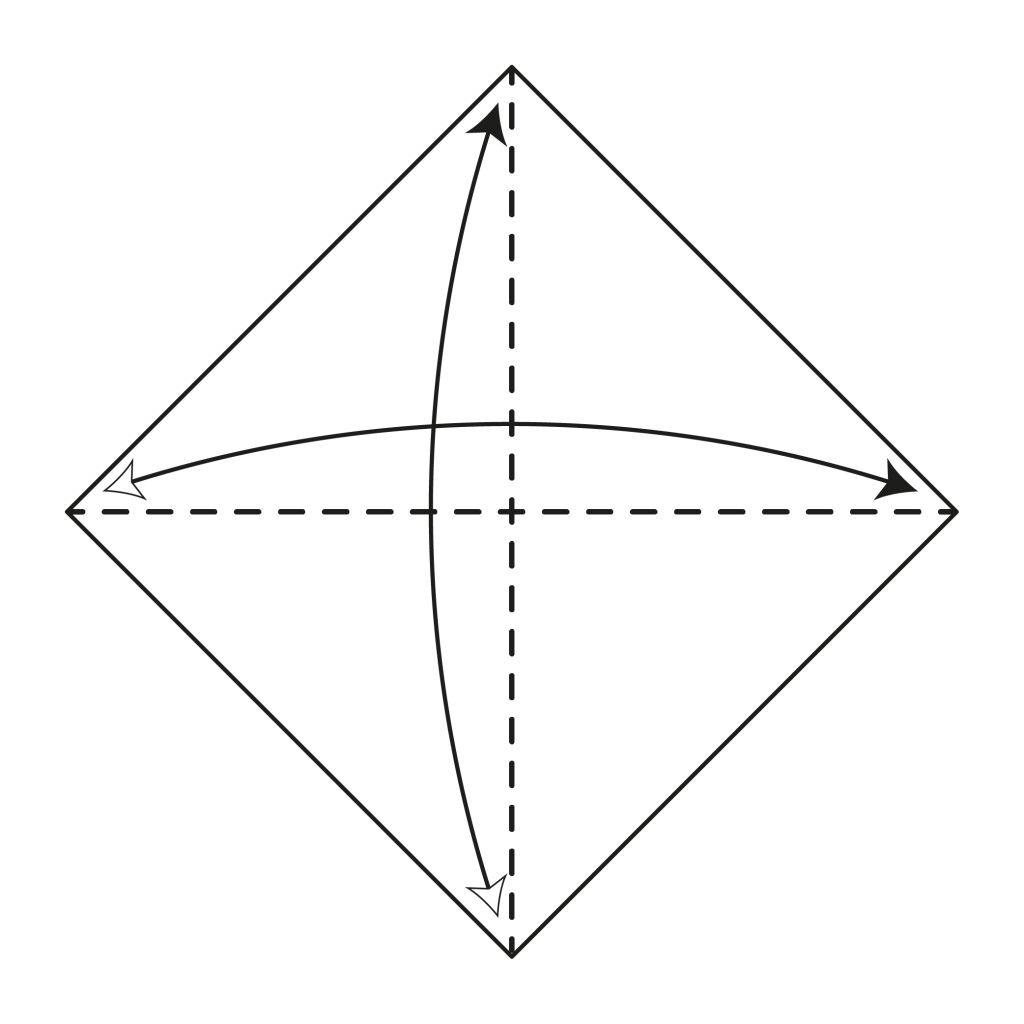
Fold and unfold along the diagonals.
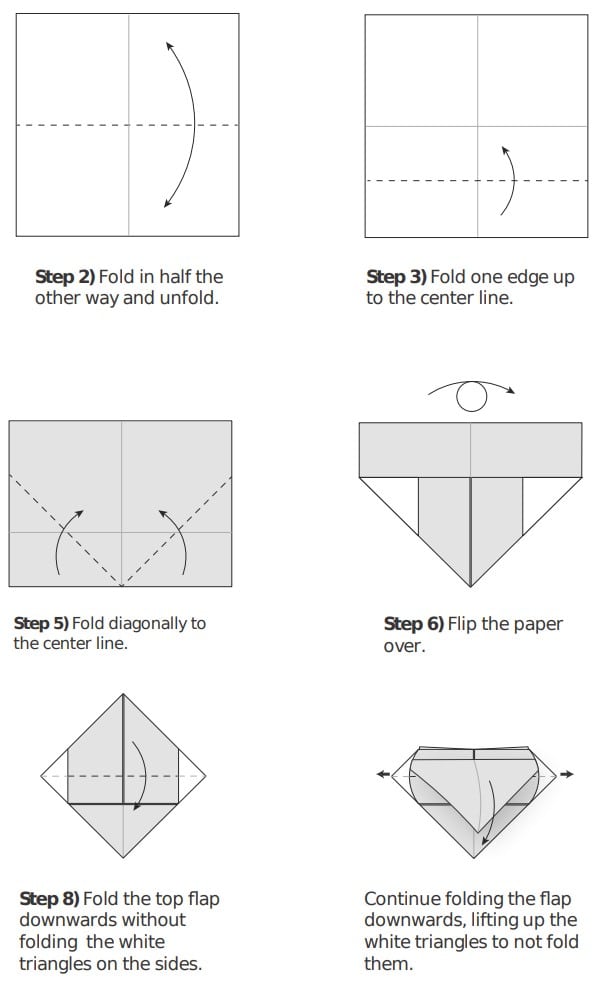
Step 2
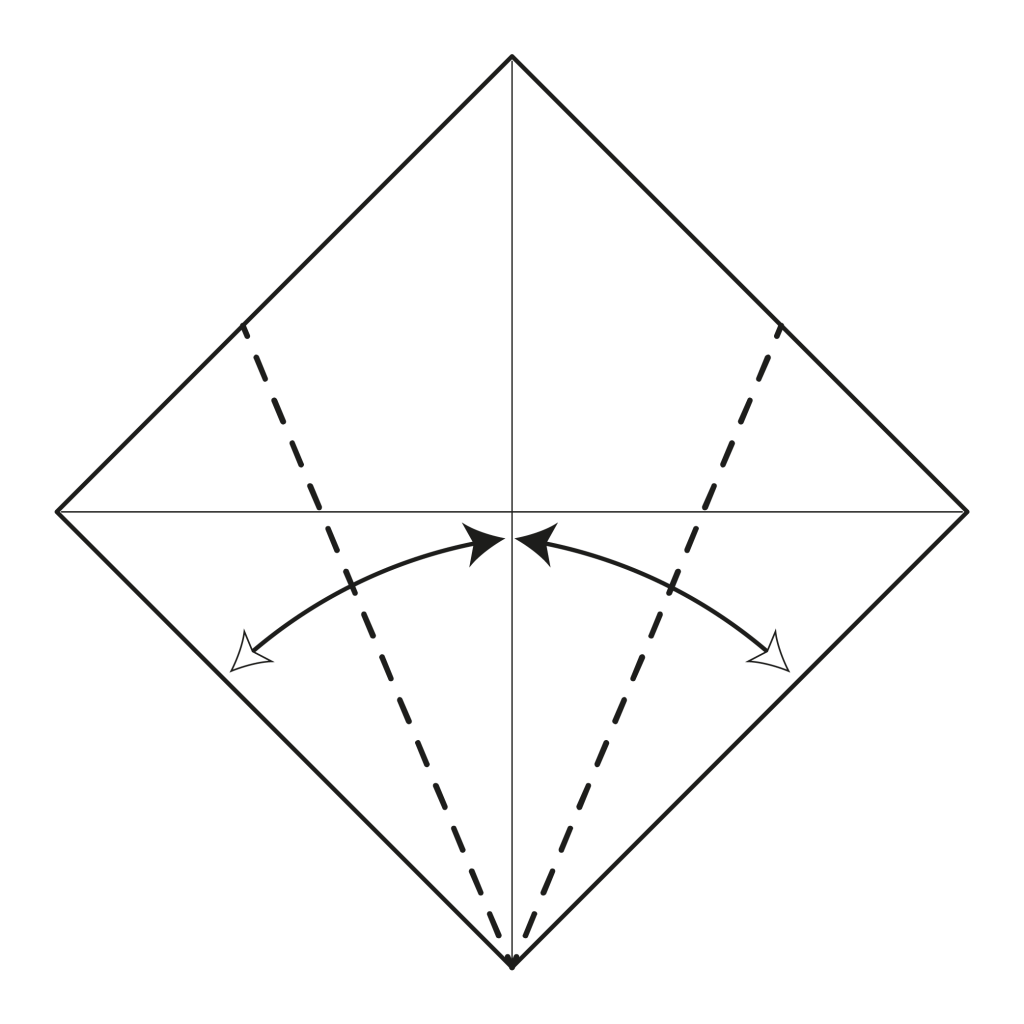
Fold the bottom-left and bottom-right edges to the center line. Then, unfold.
Step 3
Turn the paper over.
Step 4

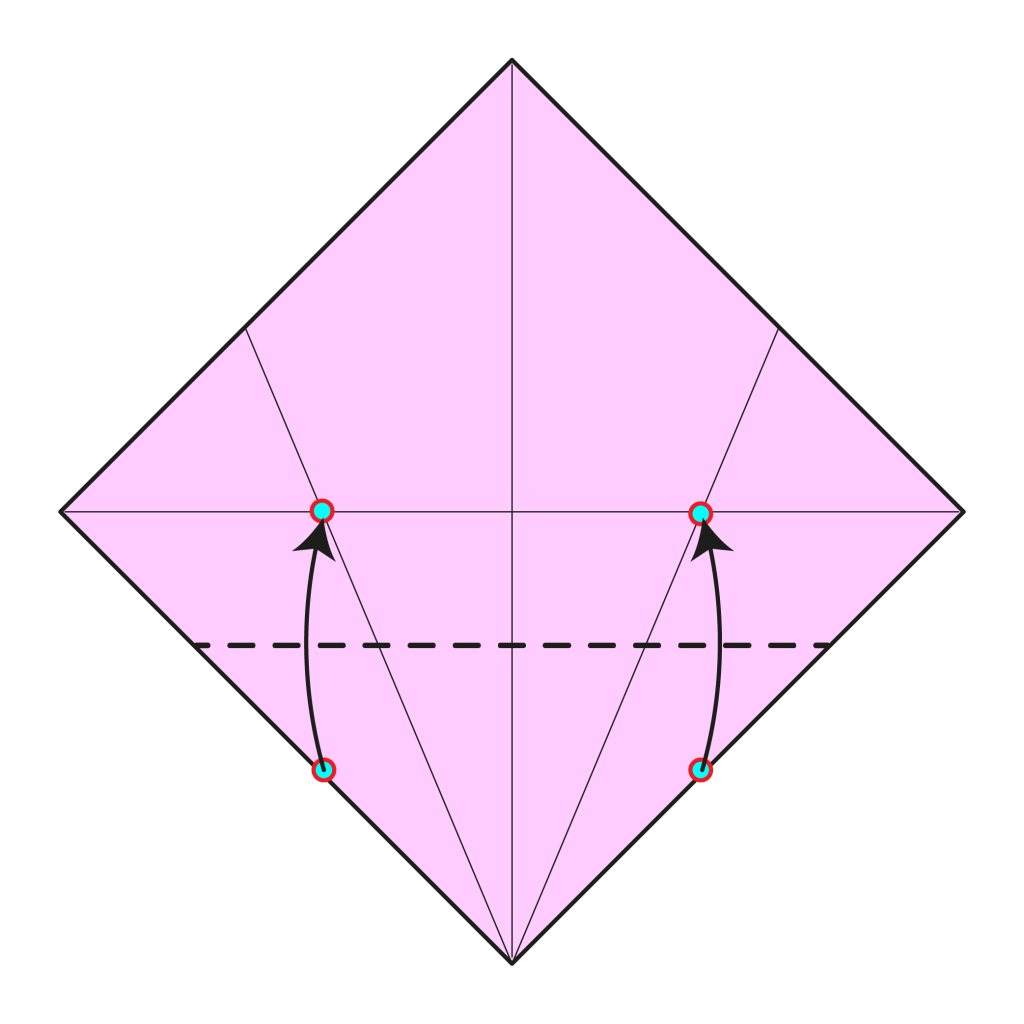
Fold the bottom corner up along the dotted line. The bottom edges should align with reference points.
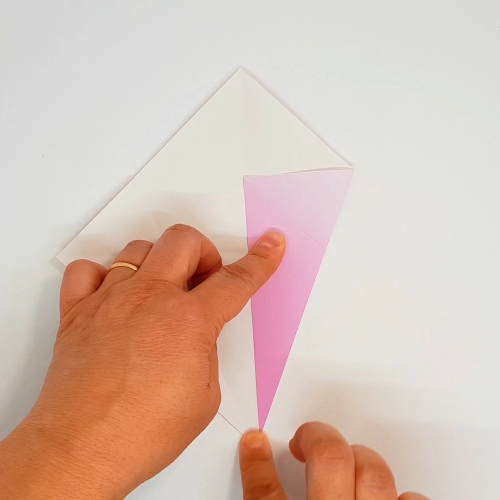
Step 5


Mountain fold the bottom layer along the horizontal diagonal crease created in Step 1.
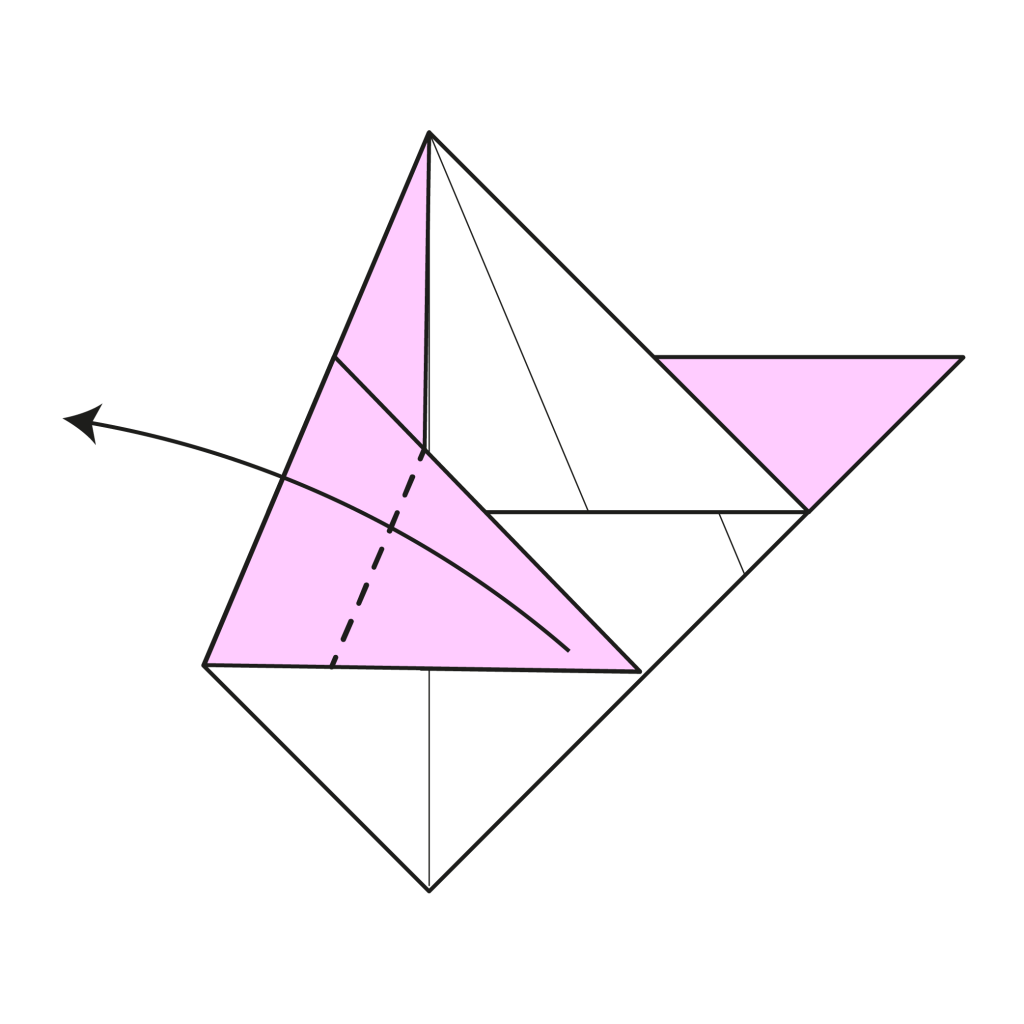
Step 6

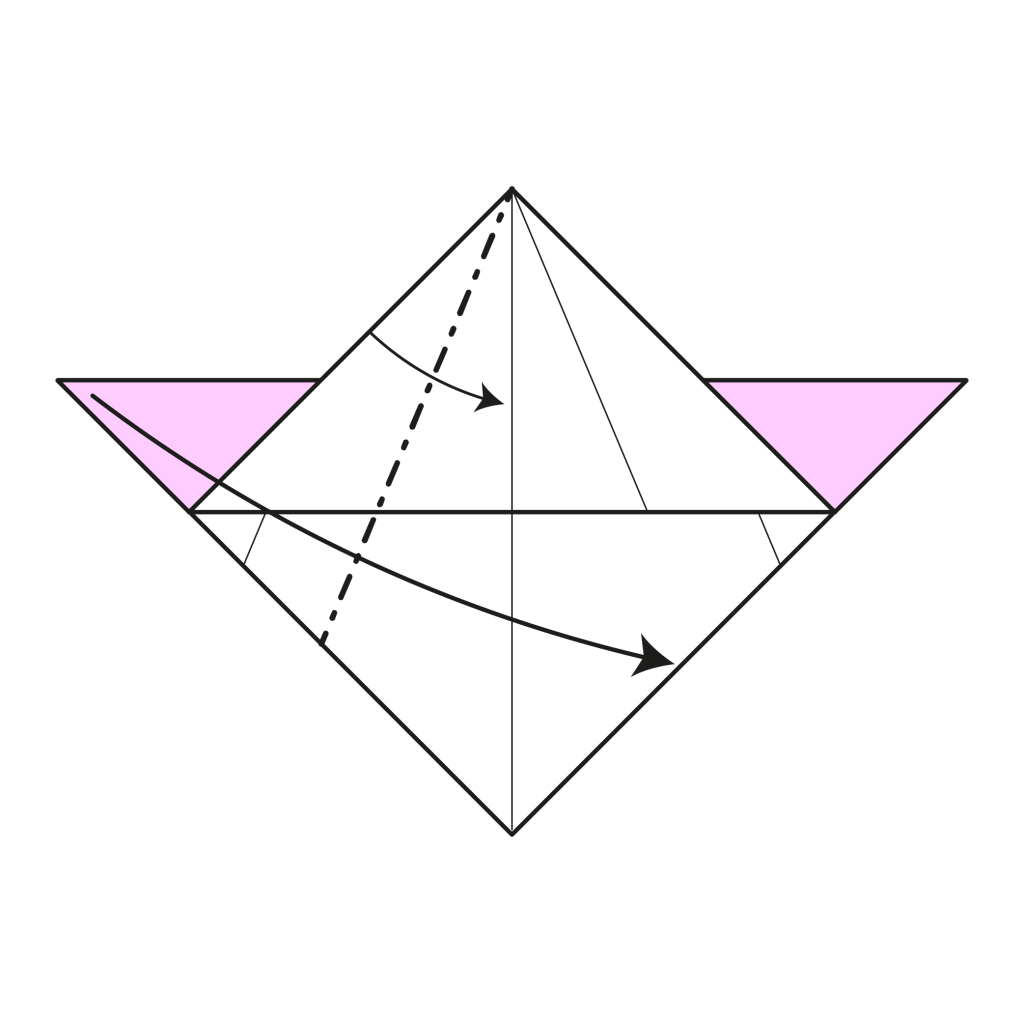
Fold the left edge of the top flap to the center line.
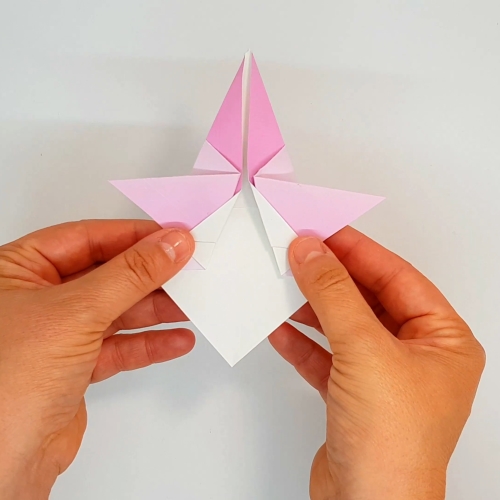
Step 7
Fold the top flap along the dotted line to create the first wing. Adjust the angle to your taste.
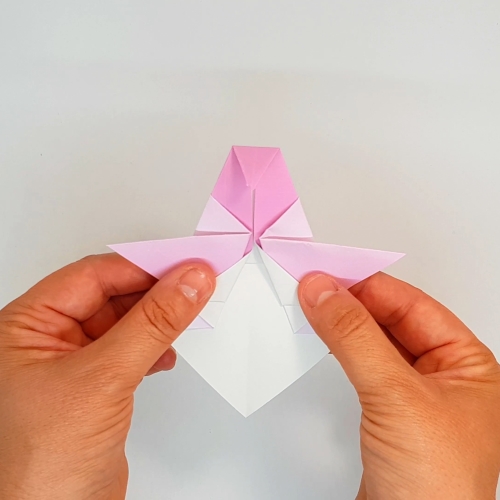
Step 8
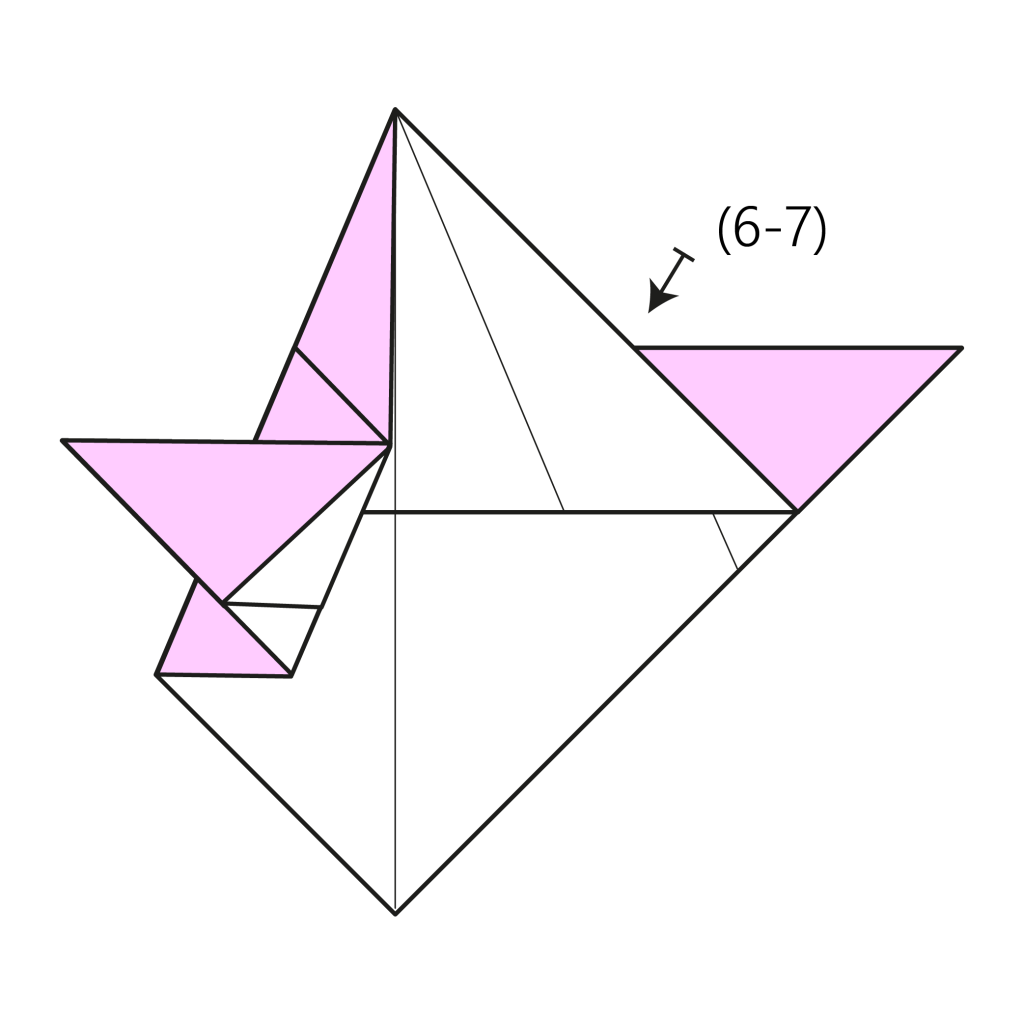
Mirror Steps 6 and 7 on the right side to create the second wing.
Step 9
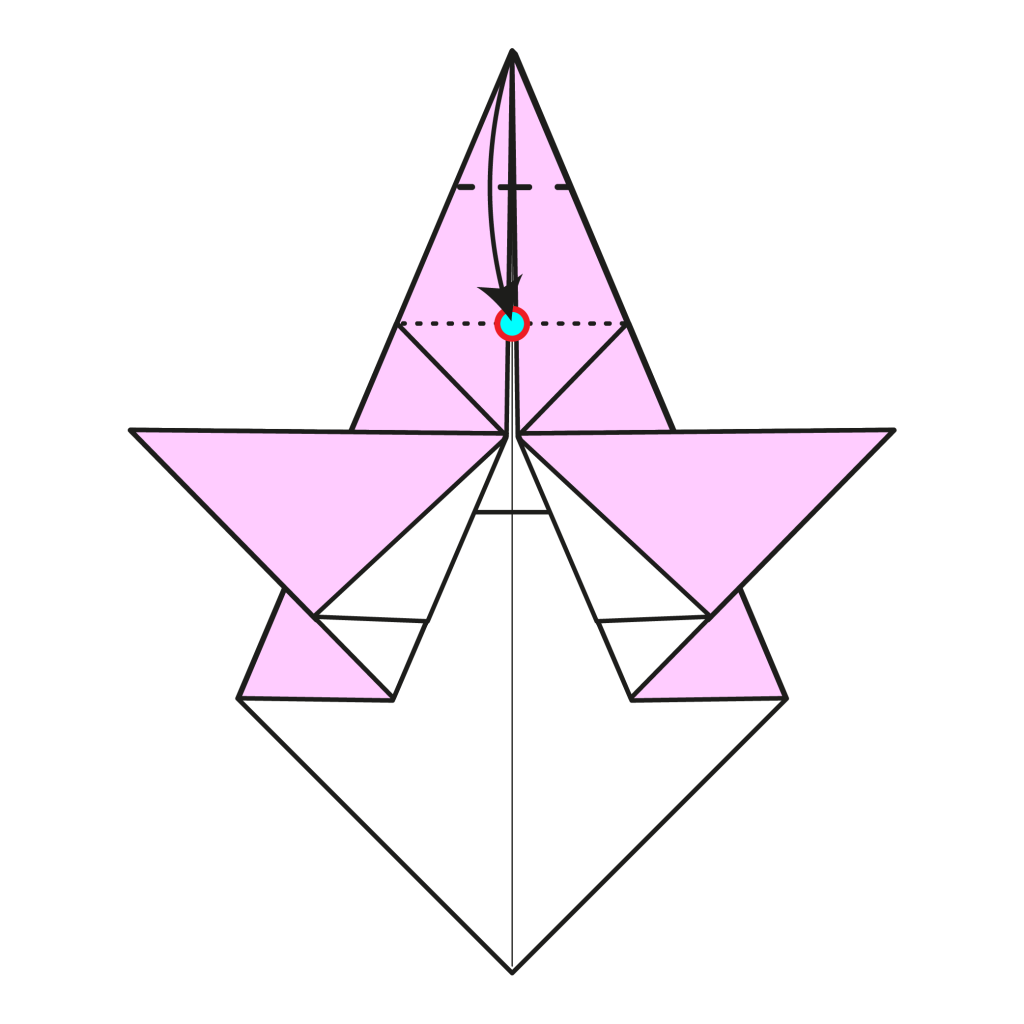
Fold the top corner along the dotted line to meet the reference point.
Step 10
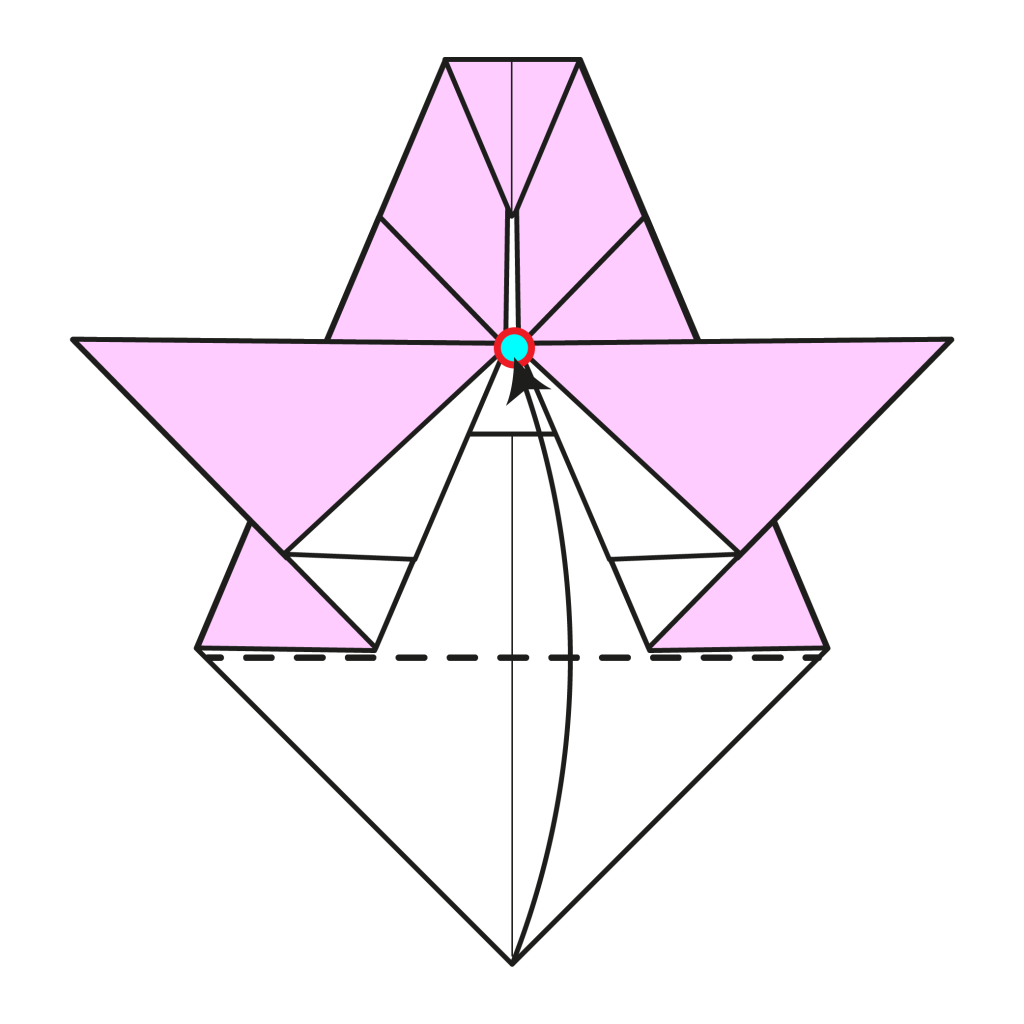
Fold the bottom corner up along the dotted line, using the bottom edges of the colored paper as guides.
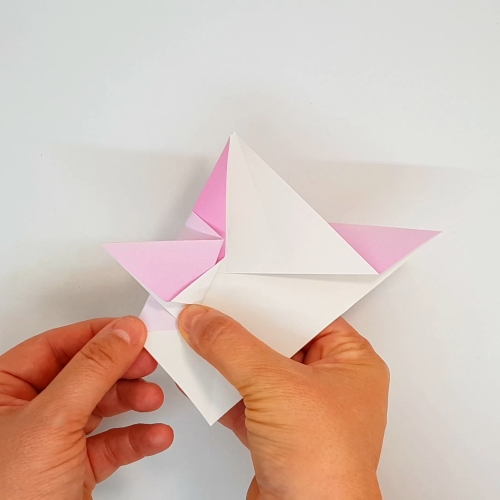
Step 11

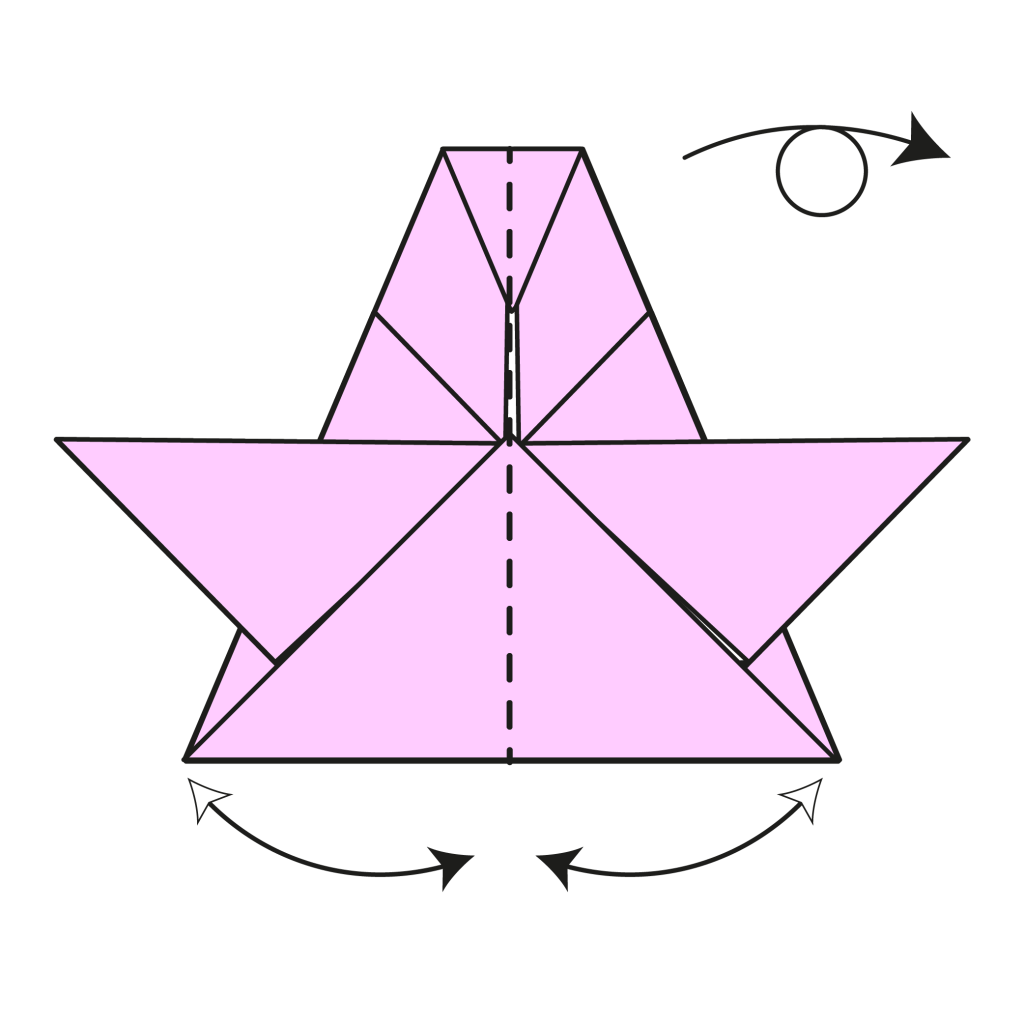
Slightly fold the model in half so it can stand on its own. Then, turn the model over.
The Completed Origami Angel
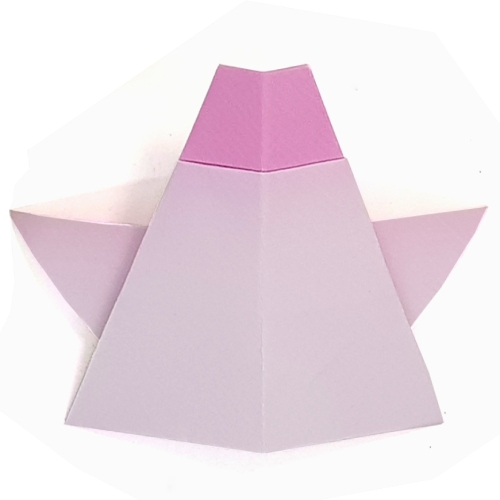
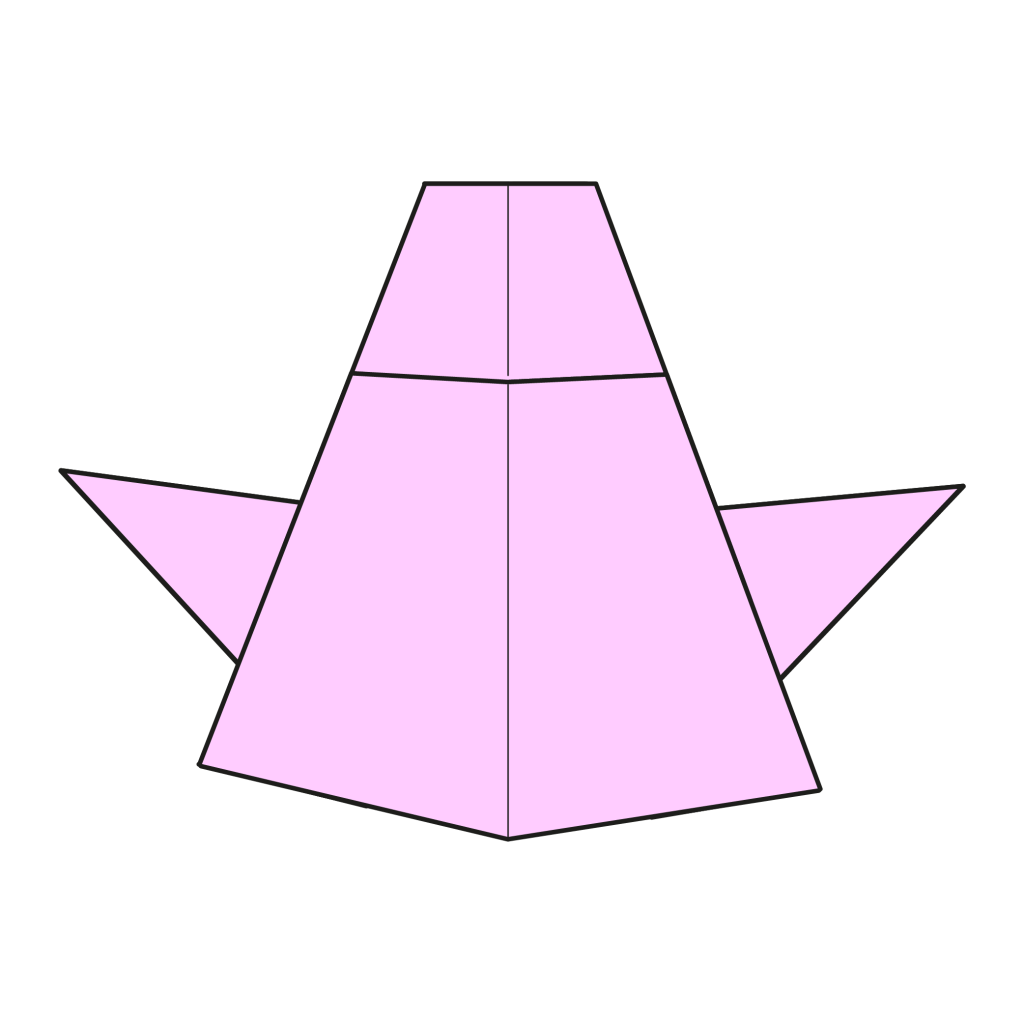
Congratulations on making your very own origami angel!
Whether you use it as part of a festive display or gift it to someone special, your angel is sure to spread happiness.
Don’t hesitate to share your creations with us in comments or on social media. We’d love to see them!
Download the Full Origami Angel Printable PDF Instructions
We’d love to keep you in the loop, so by sharing your email with us, you’ll be signed up for our mailing list. Don’t worry; we won’t bombard you with spammy emails, and your information is safe with us – we won’t share it with anyone else.
The post How to Fold an Origami Angel appeared first on Origami.me.