
Even though tulips aren’t originally from Japan, they’ve been popular since they were brought over during the Edo period. They symbolize beauty, elegance, and the arrival of spring. The origami tulip is a much-loved figure in Japan today, known for its simplicity and the colorful touch it brings to any space.
The origami tulip is easy and fun and will get you started on the technique of blowing the paper. It’s perfect for beginners. Get some pastel origami paper and let’s create a beautiful paper bouquet.
Traditional Origami Tulip Step-by-Step Instructions
- Difficulty: Easy
- Folding time: 5-10 minutes
- Model designer: Traditional
- Paper we used: Kami 15×15
- Recommended paper: Pastel paper with the same color on both sides in 15×15 cm

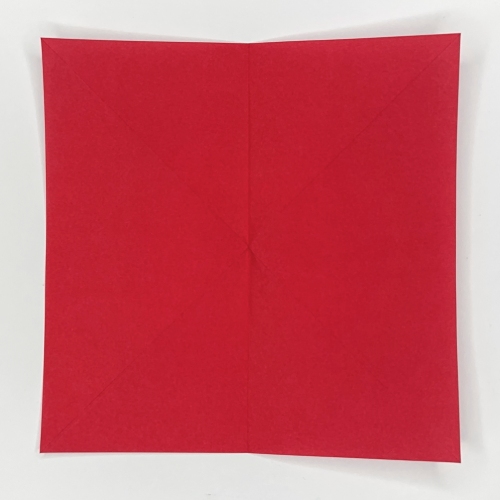
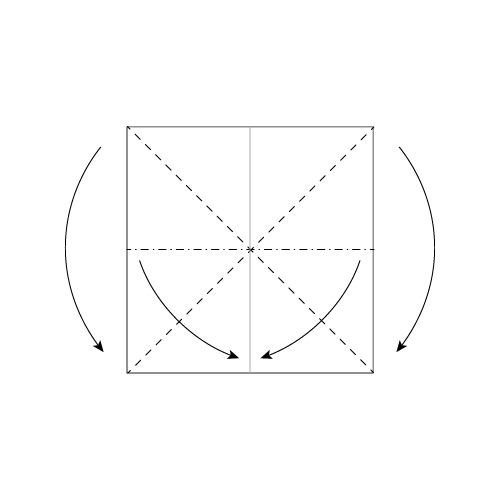
Step 1
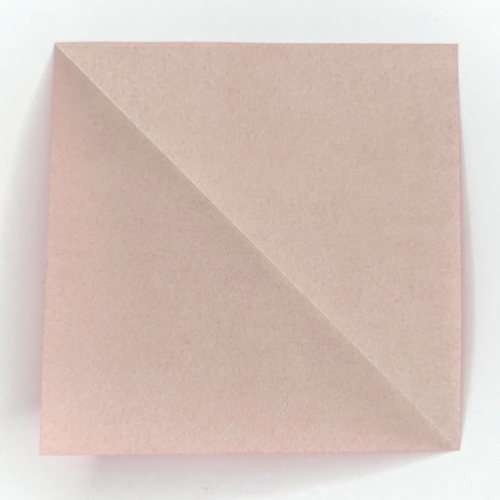
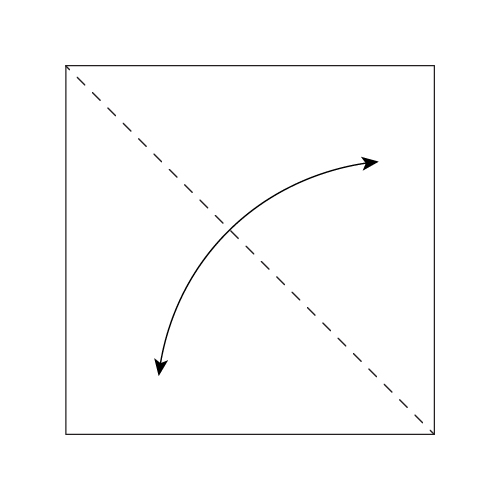
Start with the white side up. Fold in half diagonally and unfold.
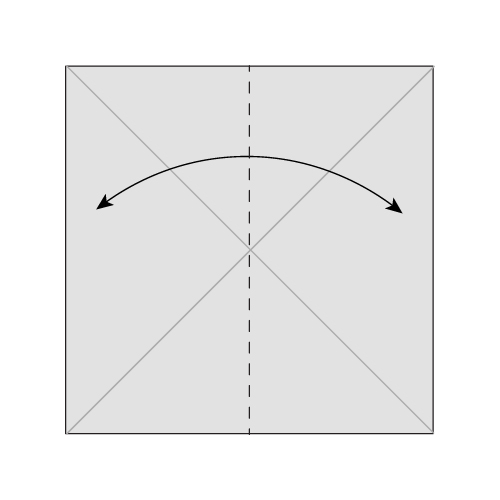
Step 2
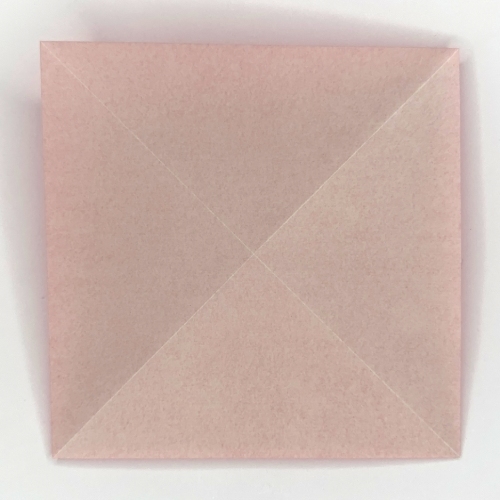
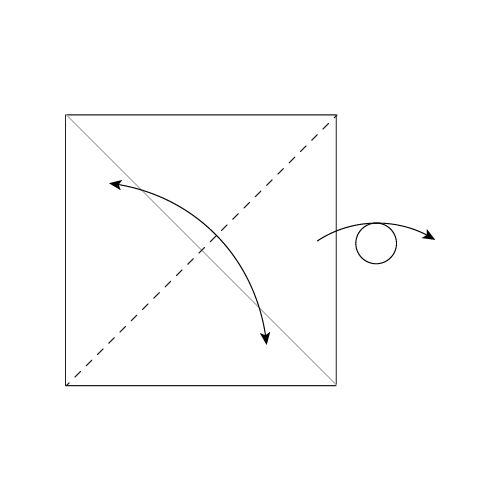
Fold in half diagonally the other way and unfold. Turn the paper over.
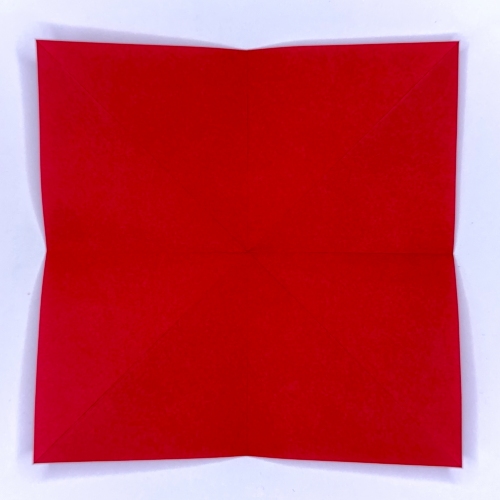
Step 3
Fold in half vertically and unfold.
Step 4
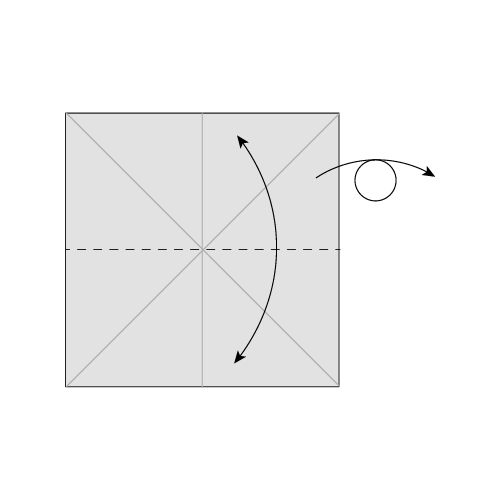
Fold in half horizontally and unfold. Turn the paper over.
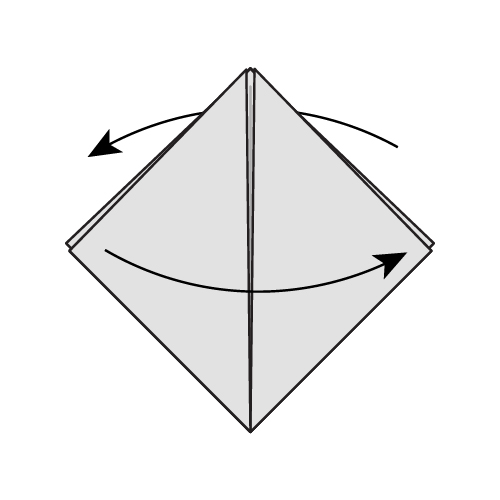
Step 5

Collapse the model into a Water-bomb Base.
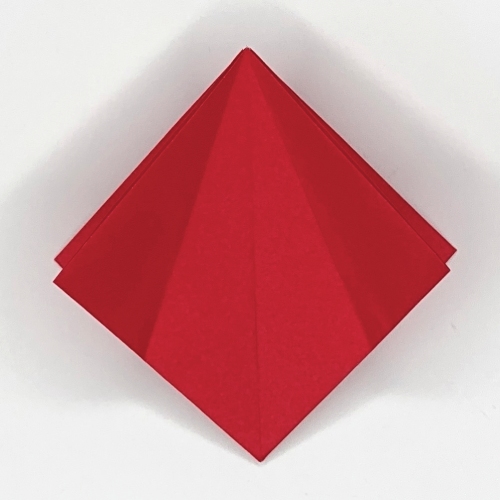
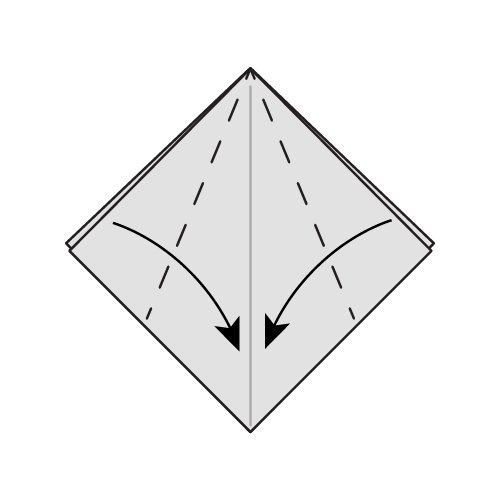
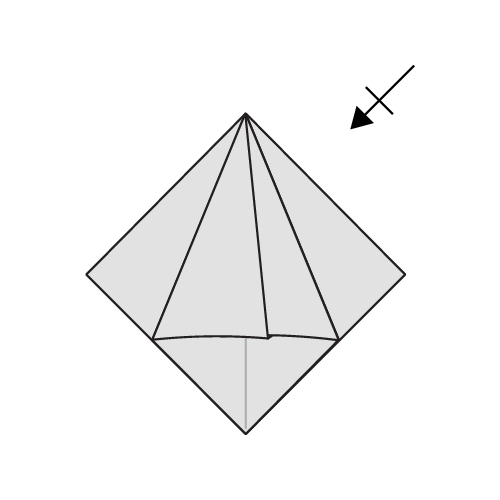
Step 6
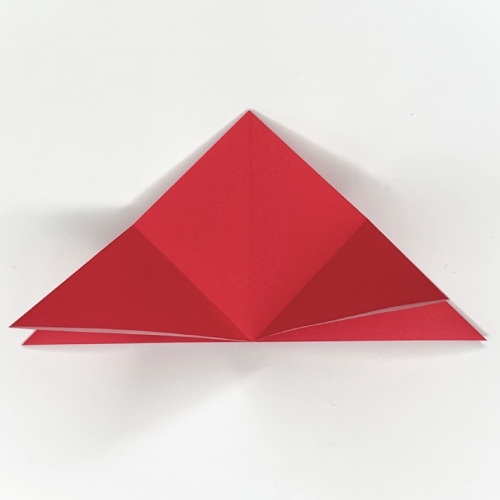

Fold the bottom corners of the top layer up to the center line.
Step 7
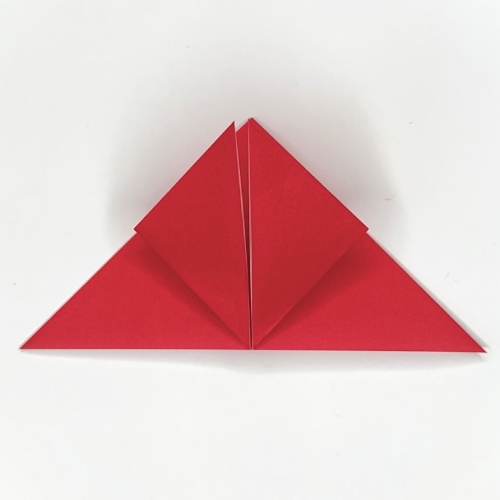
Turn the model over and repeat step 6.
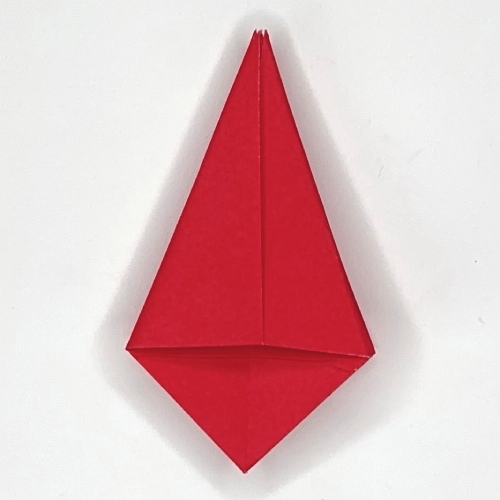
Step 8
Flip one flap to the right in the front and back.
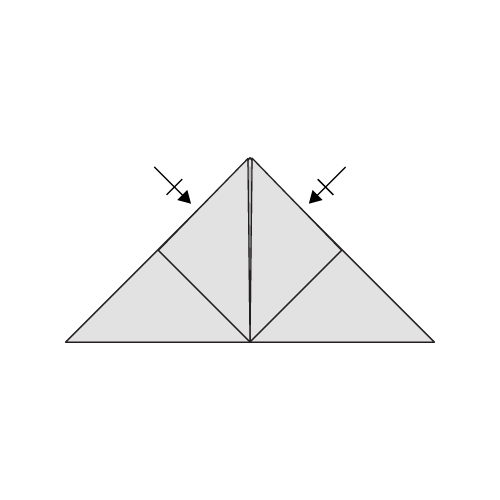
Step 9
Fold the flaps of the top layers slightly past the center line.
Step 10
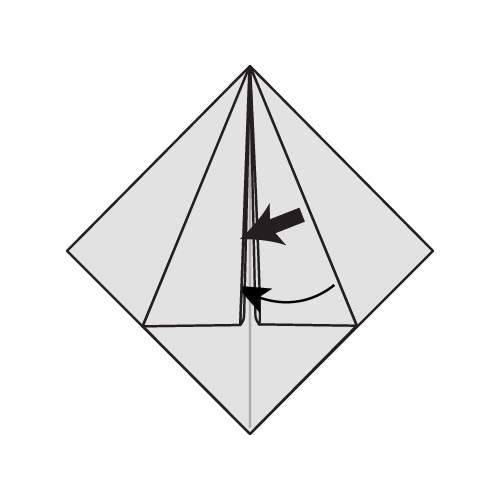
Open up the left ‘pocket’, and insert the right flap inside.
Step 11

Turn the model over and repeat steps 9-10.
Step 12
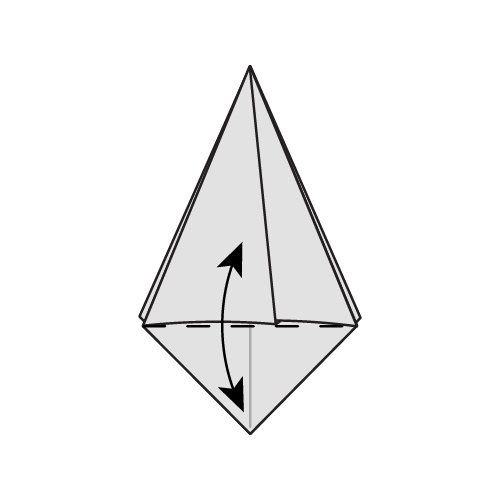
Fold and unfold the bottom section from both sides.
Step 13
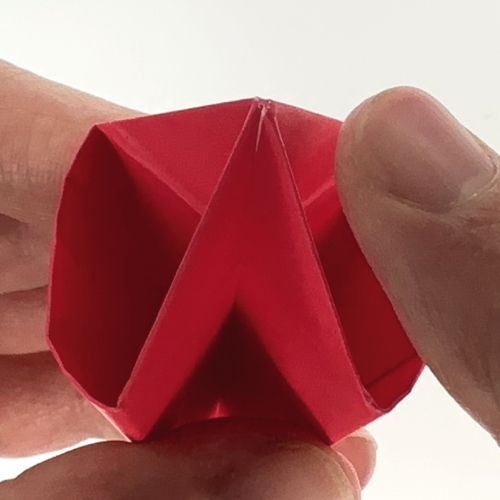

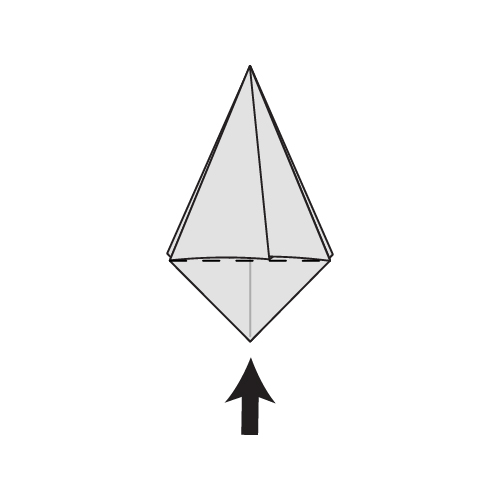
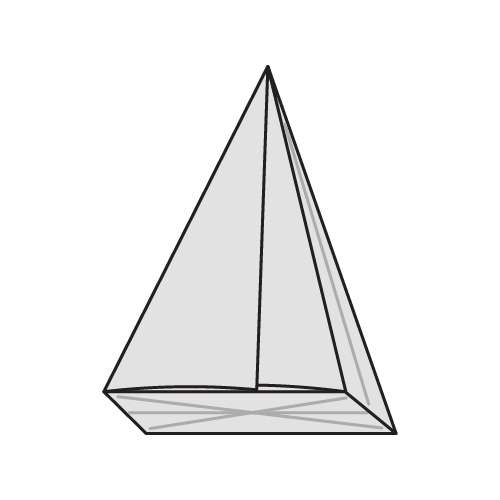
Blow into the bottom hole to inflate and flatten the model. The bottom should be a square shape.
 Folding tip: If the balloon doesn’t inflate, try pinching the top while blowing. If it still doesn’t work, gently flatten the bottom with one finger.
Step 14
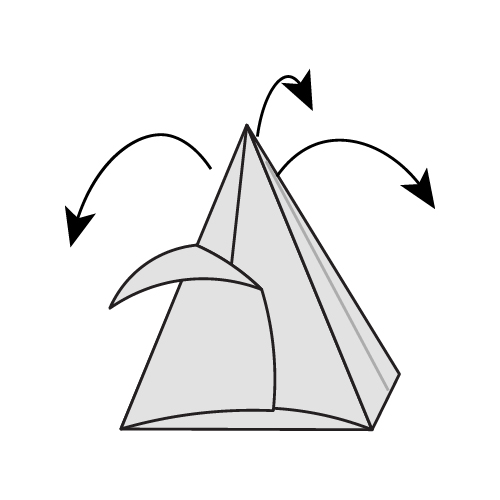
Peel out all 4 outer layers to create the petals.
The Completed Origami Tulip

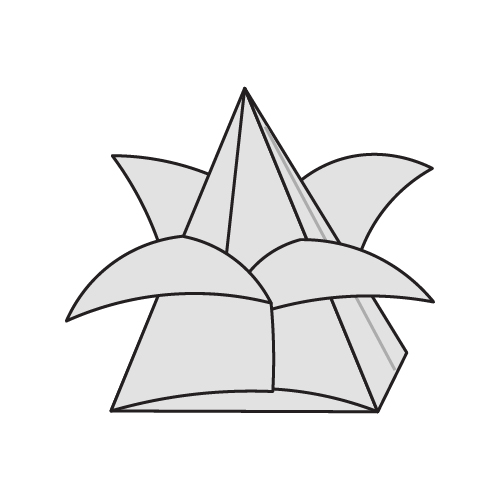
Great job on making your first paper tulip!
What did you think about this origami tulip? Feel free to share your pictures with us in the comments or on socials.
Download the Full Origami Tulip Printable PDF Instructions

We’d love to keep you in the loop, so by sharing your email with us, you’ll be signed up for our mailing list. Don’t worry; we won’t bombard you with spammy emails, and your information is safe with us – we won’t share it with anyone else.
The post How to Fold a Traditional Origami Tulip appeared first on Origami.me.