
If you’re ready to unleash your inner ninja, folding an origami ninja star is the perfect project for you!
Inspired by the iconic Japanese weapon, the shuriken, you will fold this origami in under 10 minutes with just two sheets of square paper.
This model is great for beginners and will be loved by kids and ninja enthusiasts of all ages. With just a flick of your wrist, it will glide through the air like a real shuriken!
Follow our step-by-step guide and create your own paper ninja star.
Traditional Origami Ninja Star Step-by-Step Instructions
- Difficulty: Easy
- Folding time: 5-10 minutes
- Model designer: Traditional
- Recommended paper: 2 x Kami 15×15 cm (5.9 x 5.9 in).

Step 1
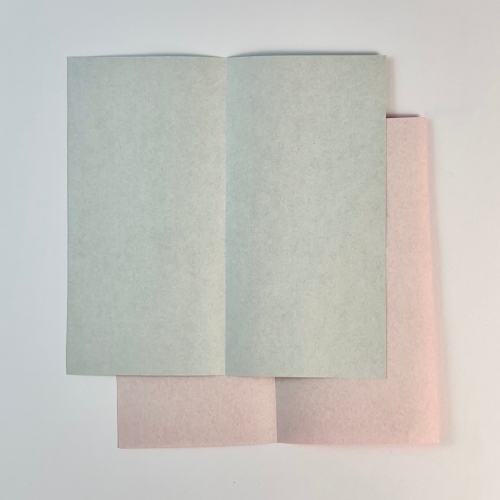
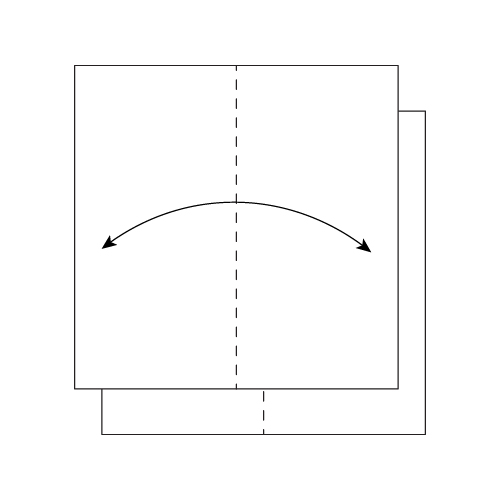
Start with two papers of the same size, with the white side facing up. Fold both in half and then unfold.
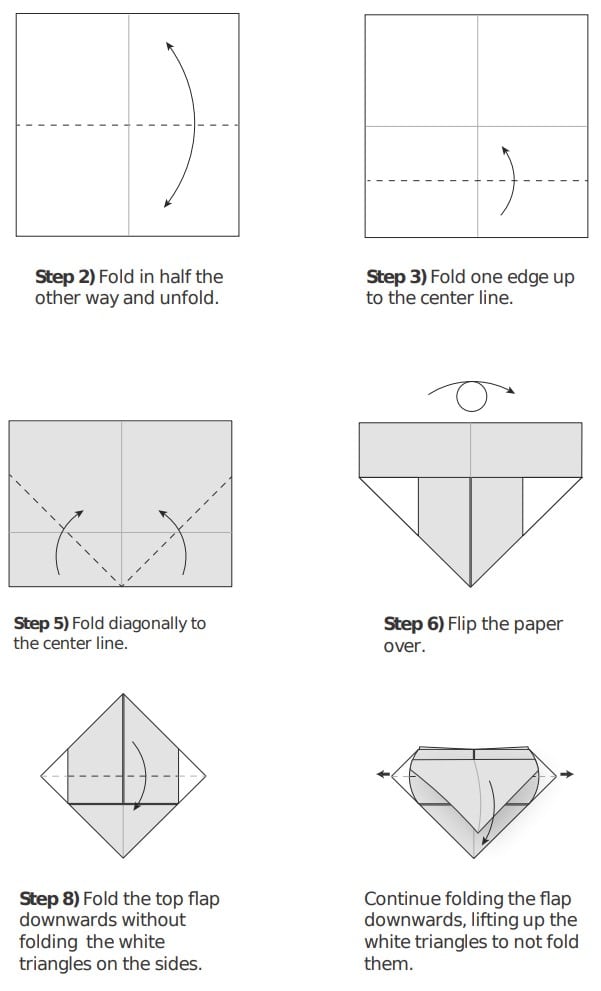
Step 2
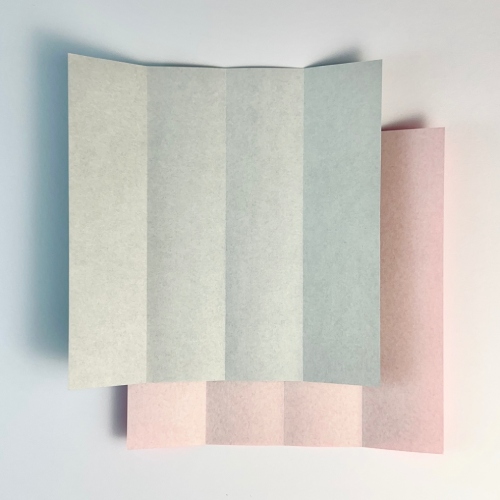
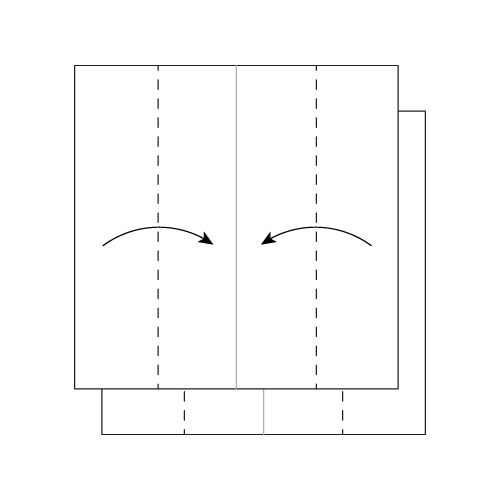
Fold the sides of both papers to the center line.
Step 3
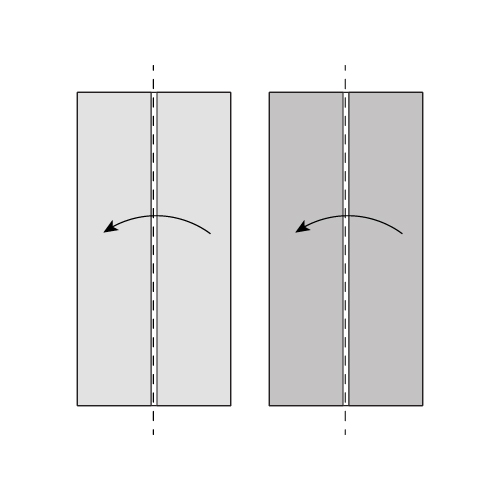
Fold both papers in half.
 Folding tip: If you cut a square paper sheet in half, you can start from this step to create a thinner and easier-to-fold model.
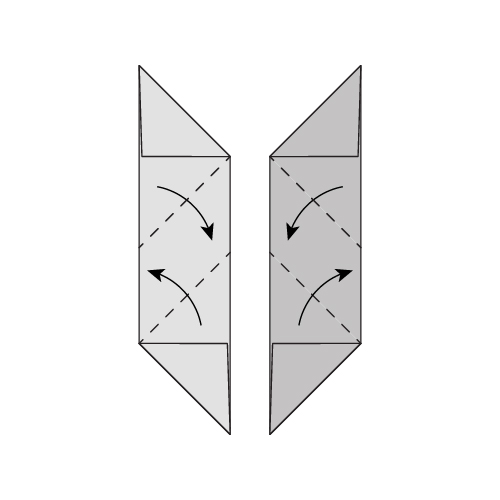
Step 4
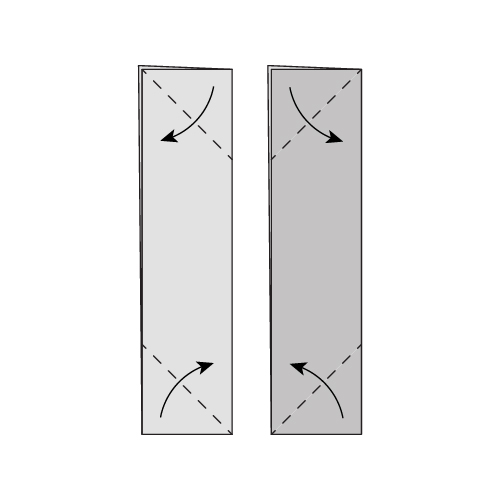
Fold the corners along the dotted lines.
Heads-up: the folds for both papers are mirrored of each other.
Step 5
Fold down the top corners along the dotted lines. The bottom edges of the flaps should align with the right and left edges of the model, as shown in the video.
Next, repeat the process for the bottom corners, mirroring what you did with the top corners.
Step 6
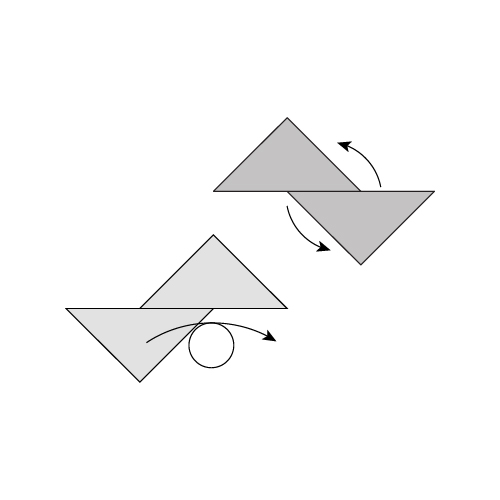
Flip one unit around, and rotate the other by 45 degrees.
Step 7
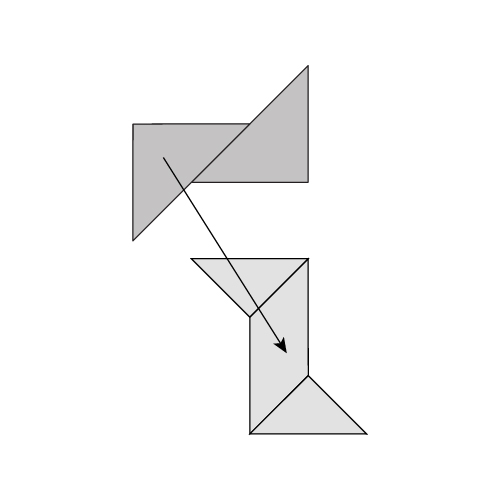
Place the rotated unit on top of the flipped unit.
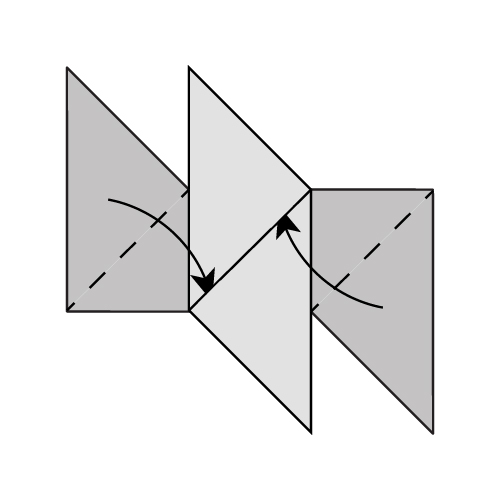
Step 8
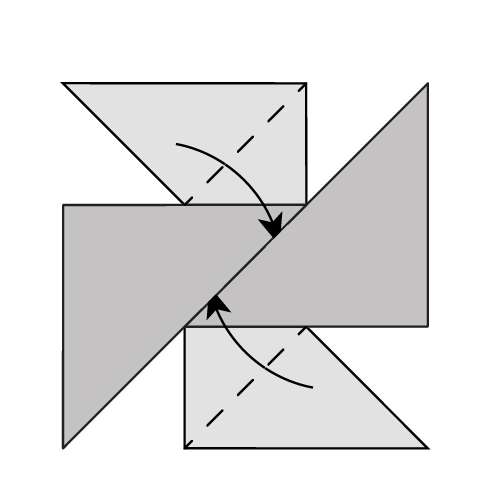

Fold along the dotted lines, tucking the tips of the lower unit’s flaps in the upper unit’s pockets.
Step 9

Turn the entire model over.
Step 10
Fold along the dotted lines, tucking the tips of the lower unit’s flaps in the upper unit’s pockets, similar to Step 8.
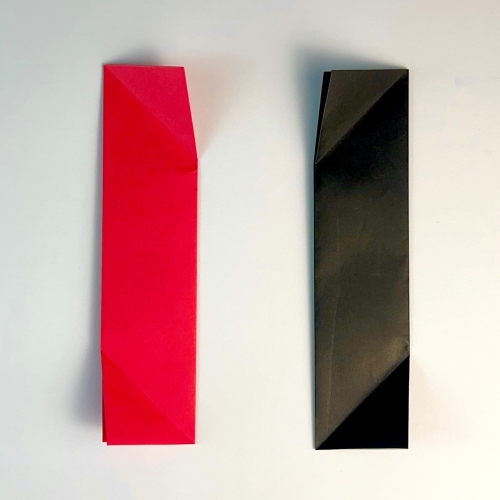
The Completed Origami Ninja Star
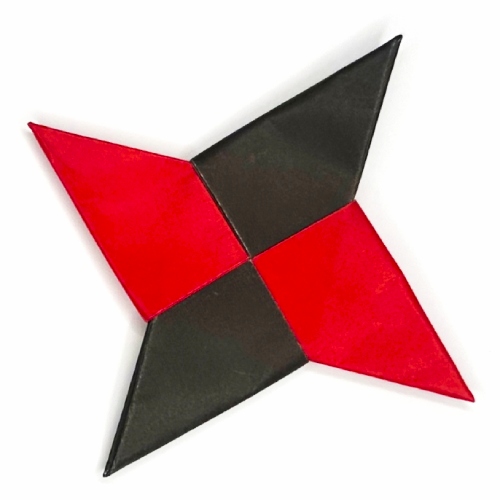
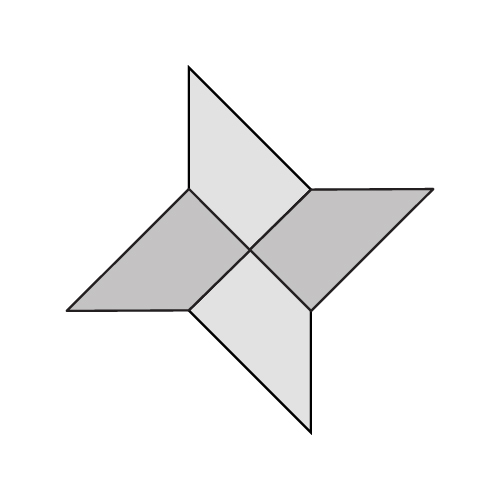
Congratulations on folding your origami ninja star!
With its sleek design, this shuriken makes a great addition to any origami collection or a fun way to show off your skills.
What colors are you going to use for this project? Don’t hesitate to share your creations with us in the comments or on socials.
Download the Full Origami Ninja Star Printable PDF Instructions
We’d love to keep you in the loop, so by sharing your email with us, you’ll be signed up for our mailing list. Don’t worry; we won’t bombard you with spammy emails, and your information is safe with us – we won’t share it with anyone else.
The post How to Fold an Origami Ninja Star appeared first on Origami.me.