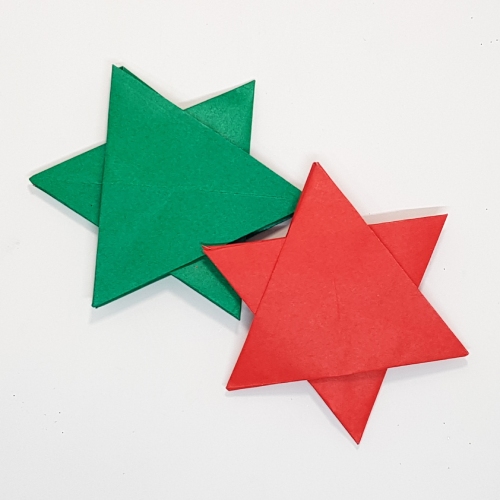
Are you ready to take on a fascinating origami challenge? Let’s learn how to fold a stunning origami 6-pointed star designed by the legendary Shuzo Fujimoto.
This star involves a fun and engaging folding process. Most of the work is in the pre-creasing, where you prepare the paper with precise mountain and valley folds, followed by a satisfying final collapse that brings the star to life.
Originally featured in his book Twist Origami 2 (ねじり折り 2), this model is challenging but still accessible for determined beginners.
Origami 6-Pointed Star Step-by-Step Instructions
- Difficulty: Beginner – Level 5
- Folding time: 10-15 minutes
- Model designer: Shuzo Fujimoto
- Paper: Kami 15×15 cm
Step 6
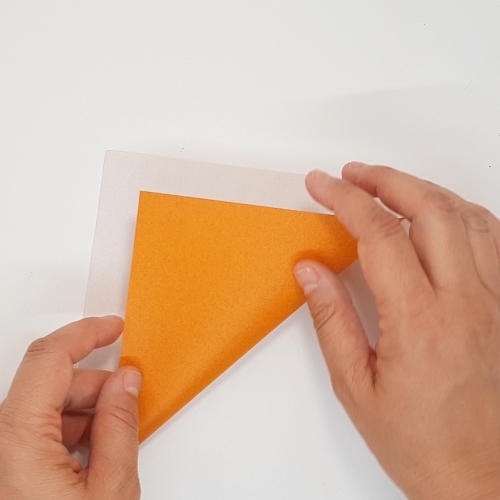
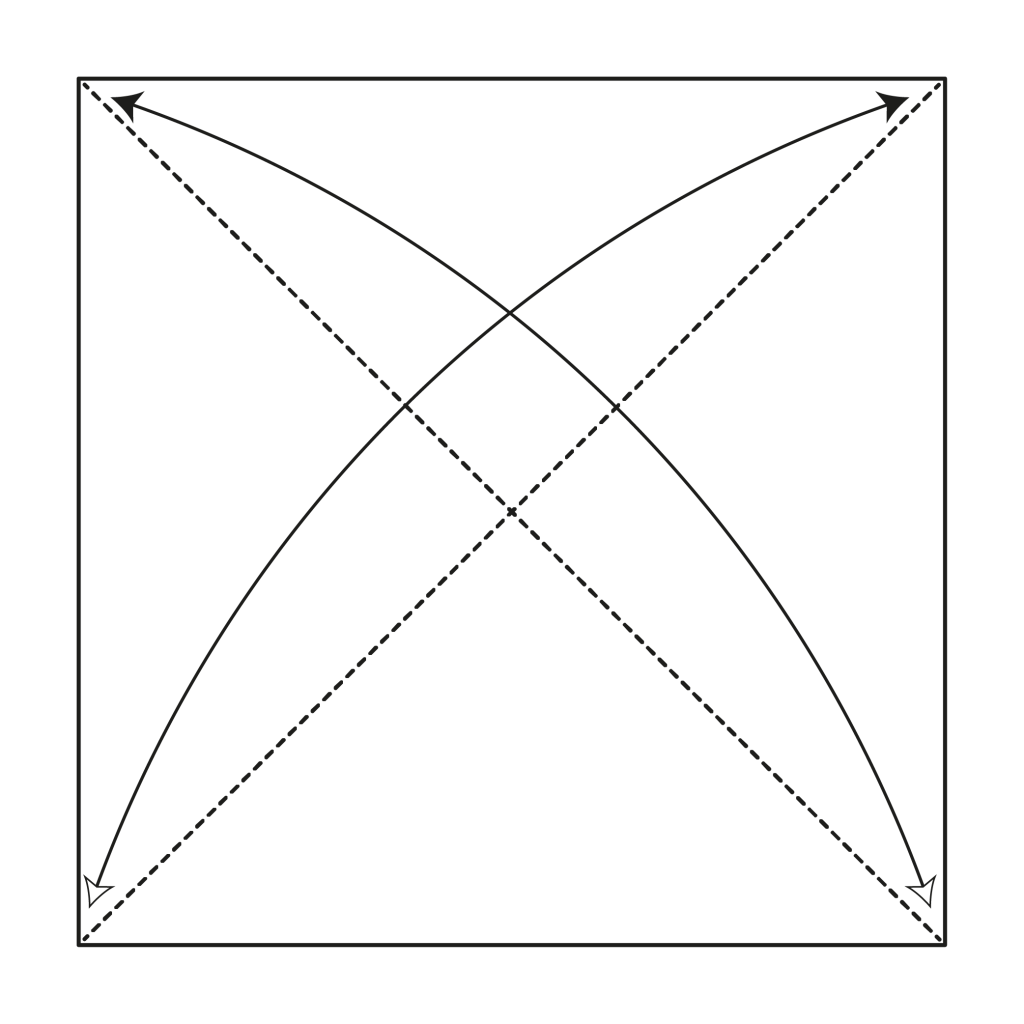
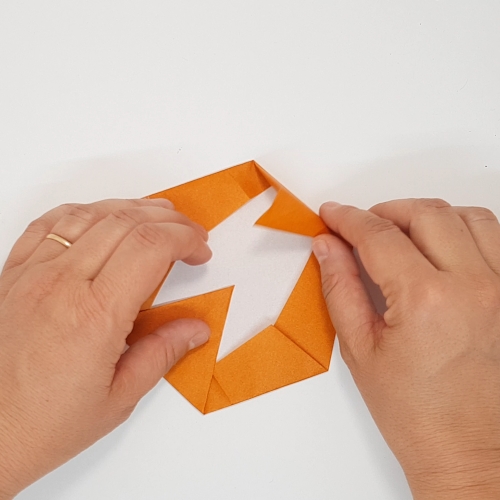
Fold and unfold both hexagon diagonals, using the reference dotted lines as a guide.
Step 8
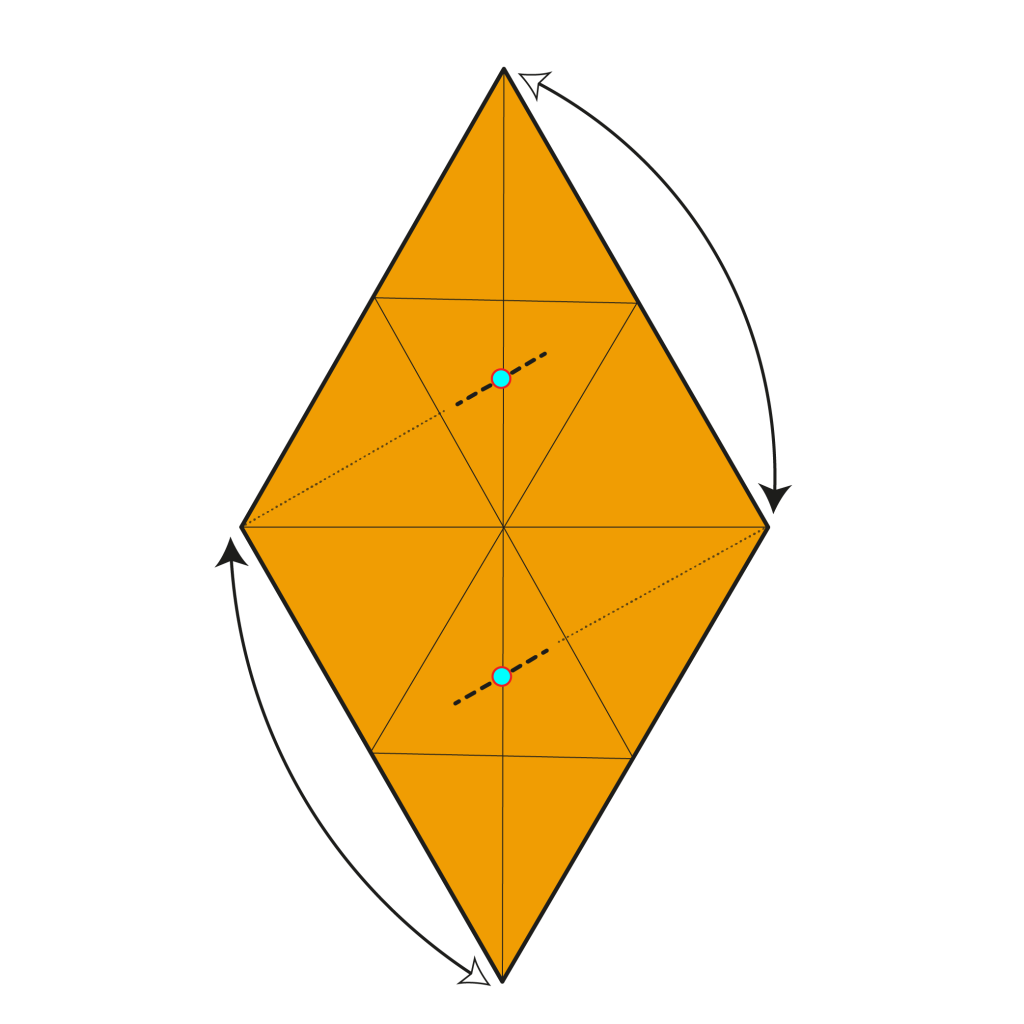
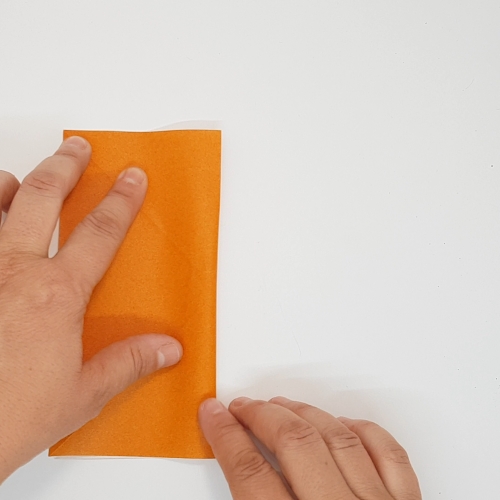
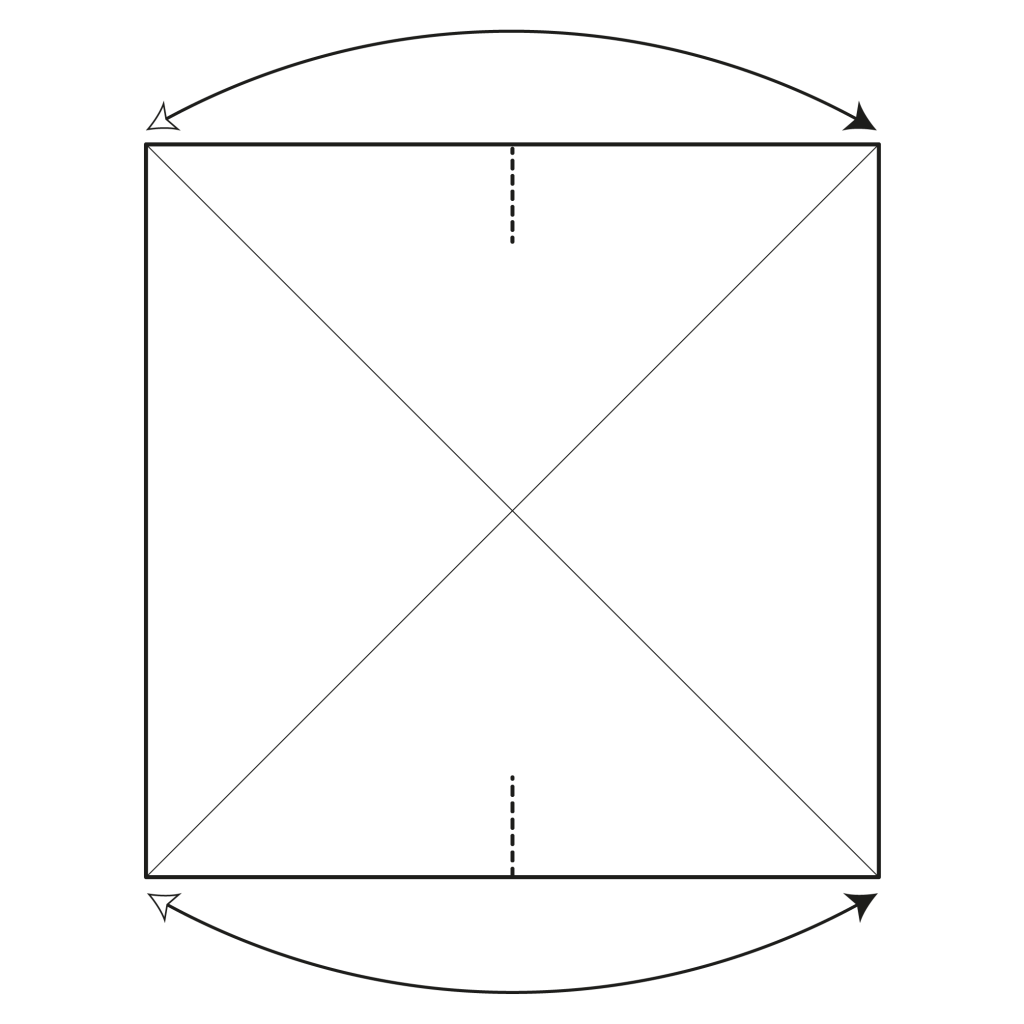
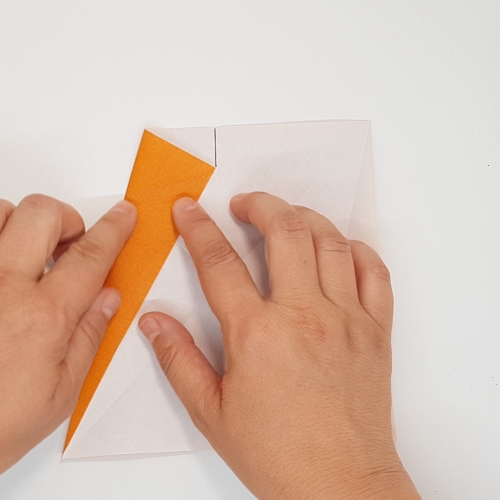
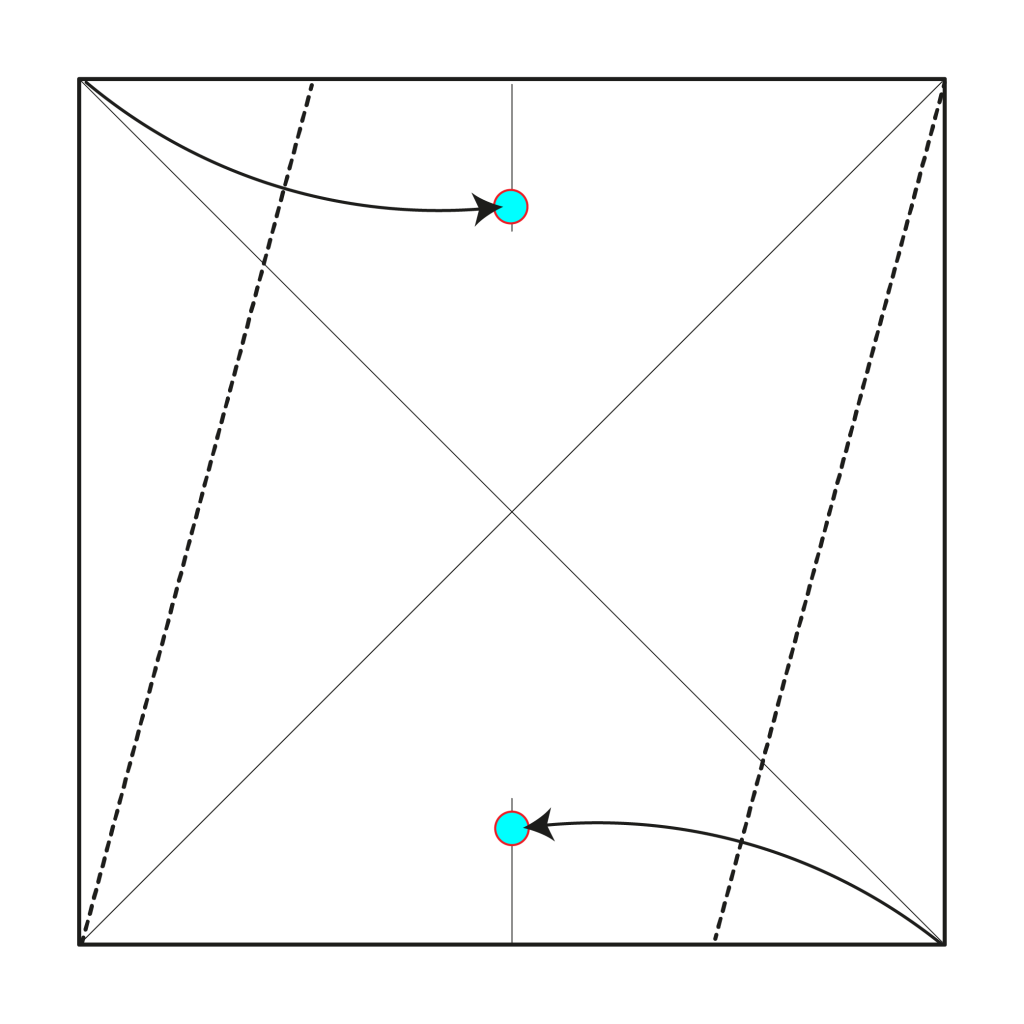
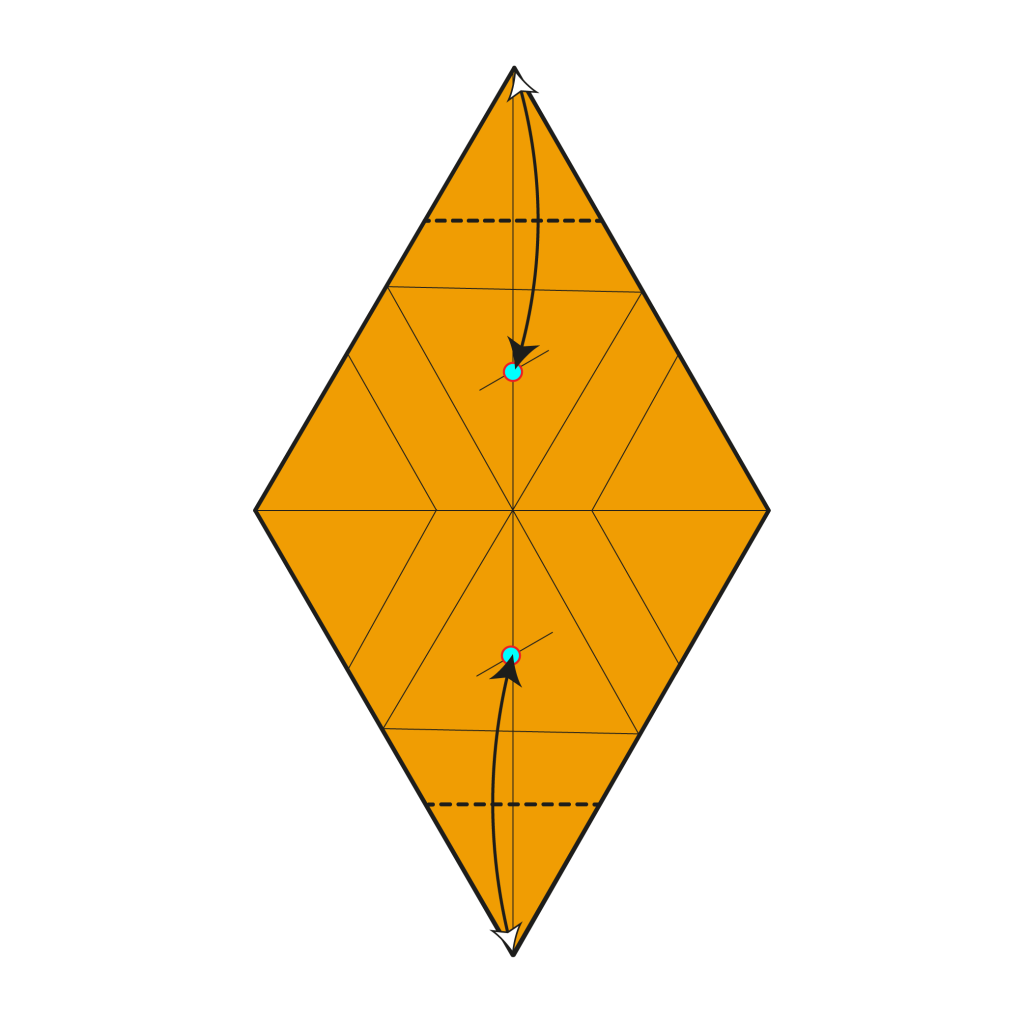
Bring the top corner to the right corner. The left edge should align with the horizontal line. Crease only where the fold intersects with the vertical line to create a new reference point. Mirror this step for the bottom corner.
Step 9
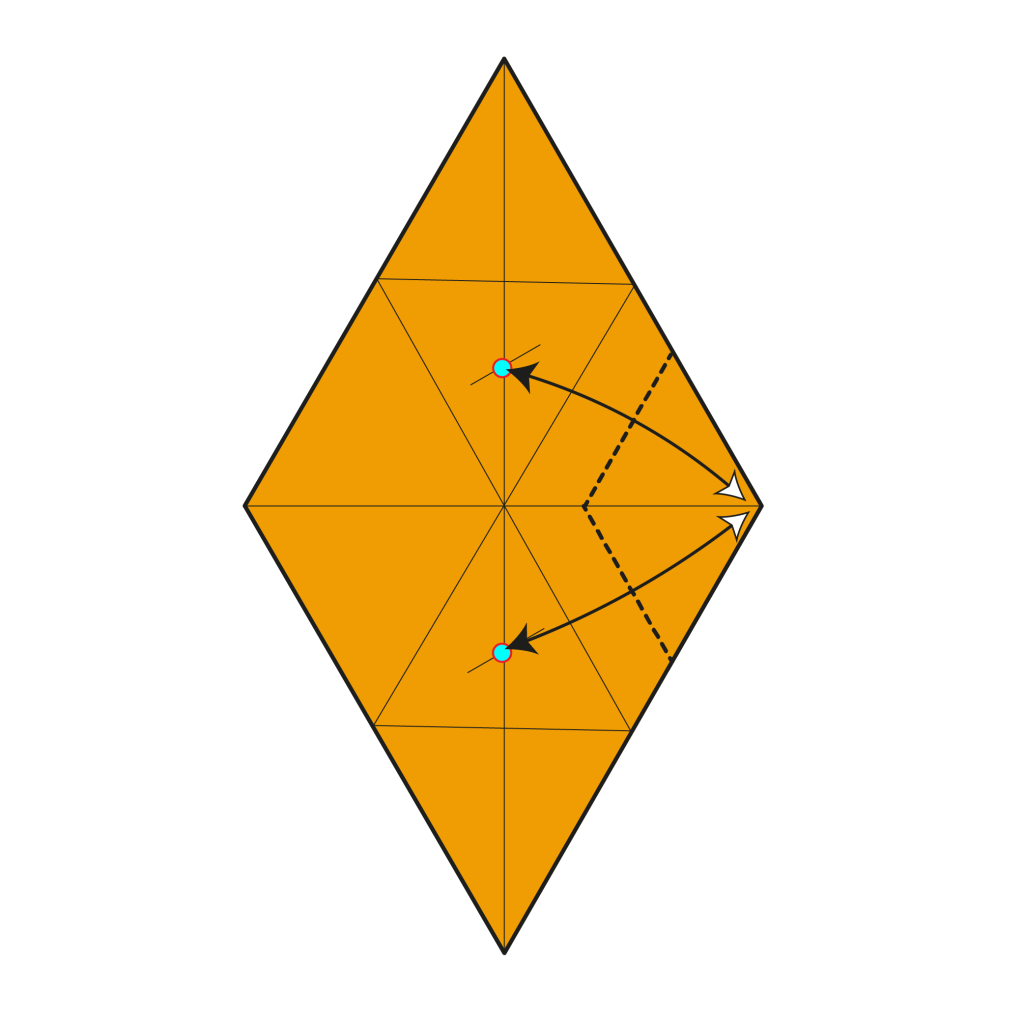
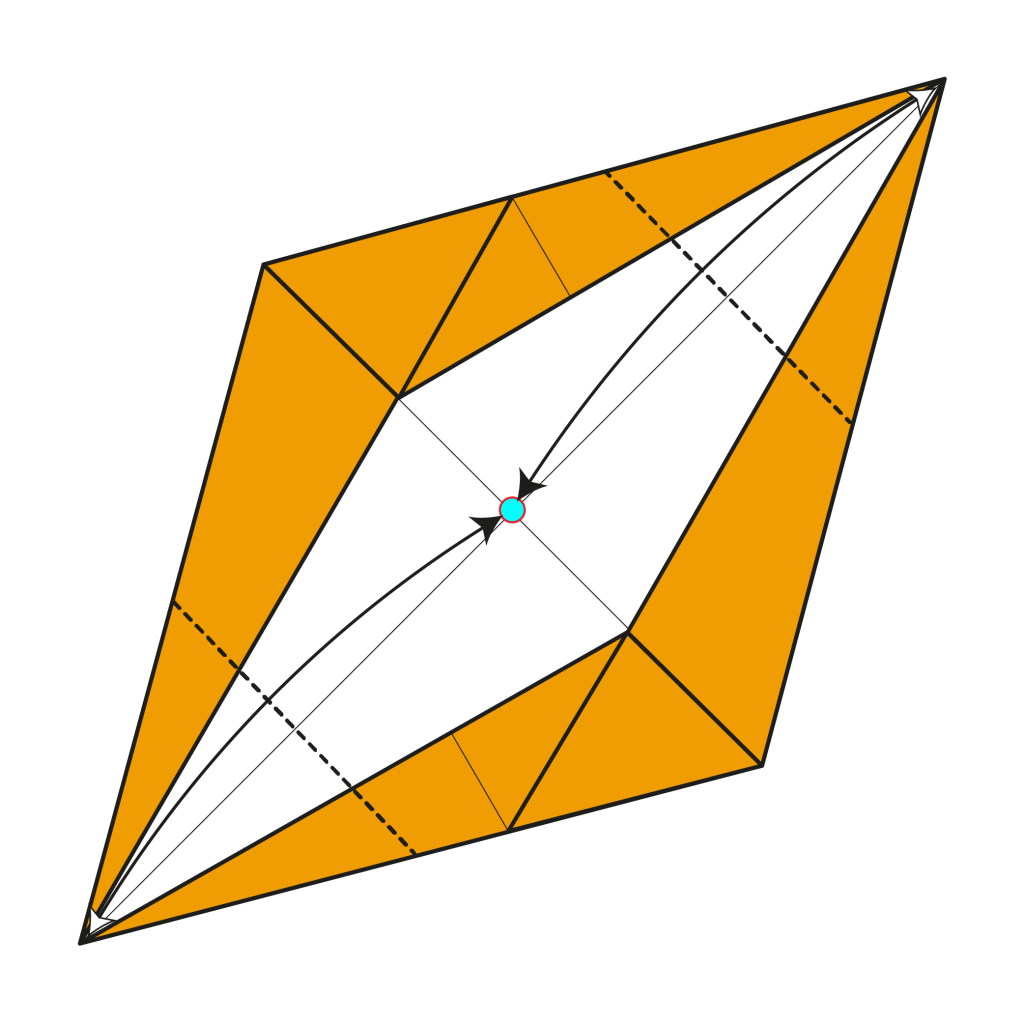
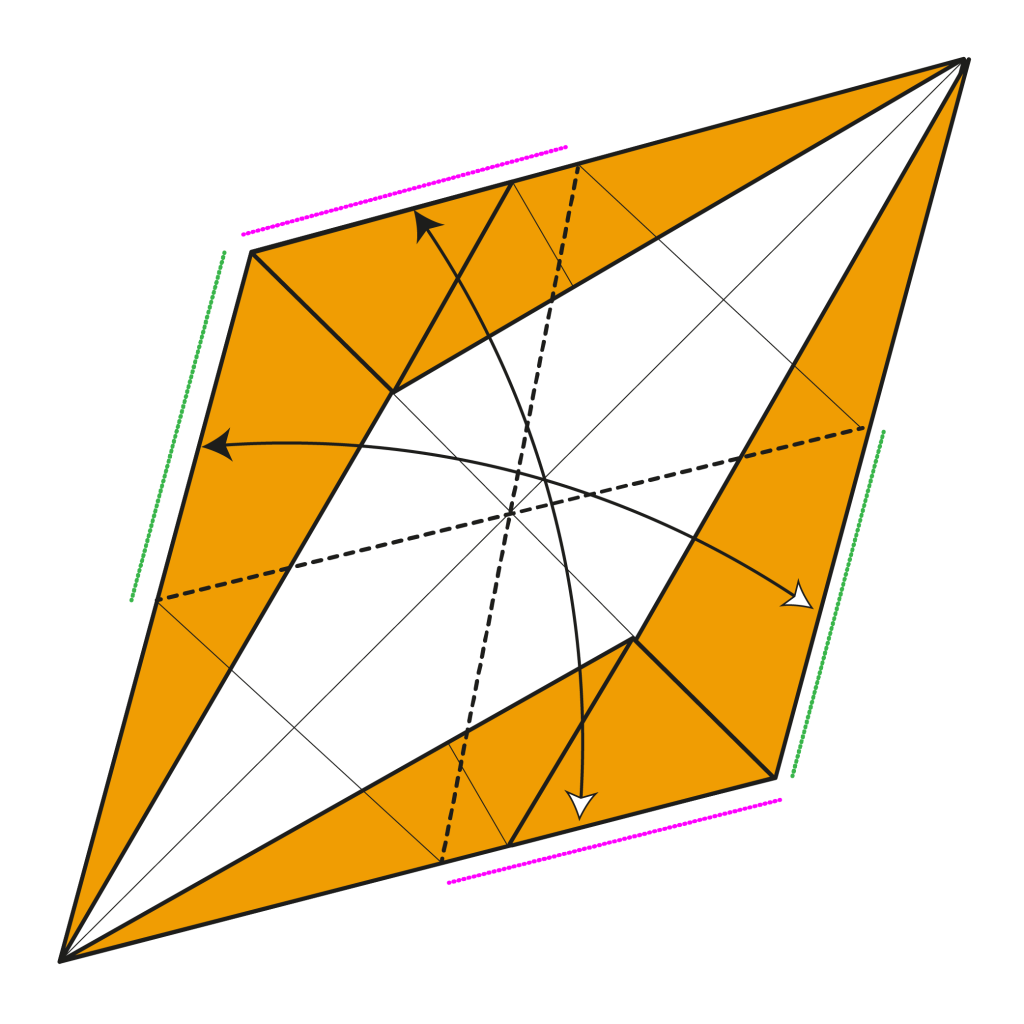
Bring the right corner inward to meet the new reference points and fold and unfold along the dotted lines.
Step 10
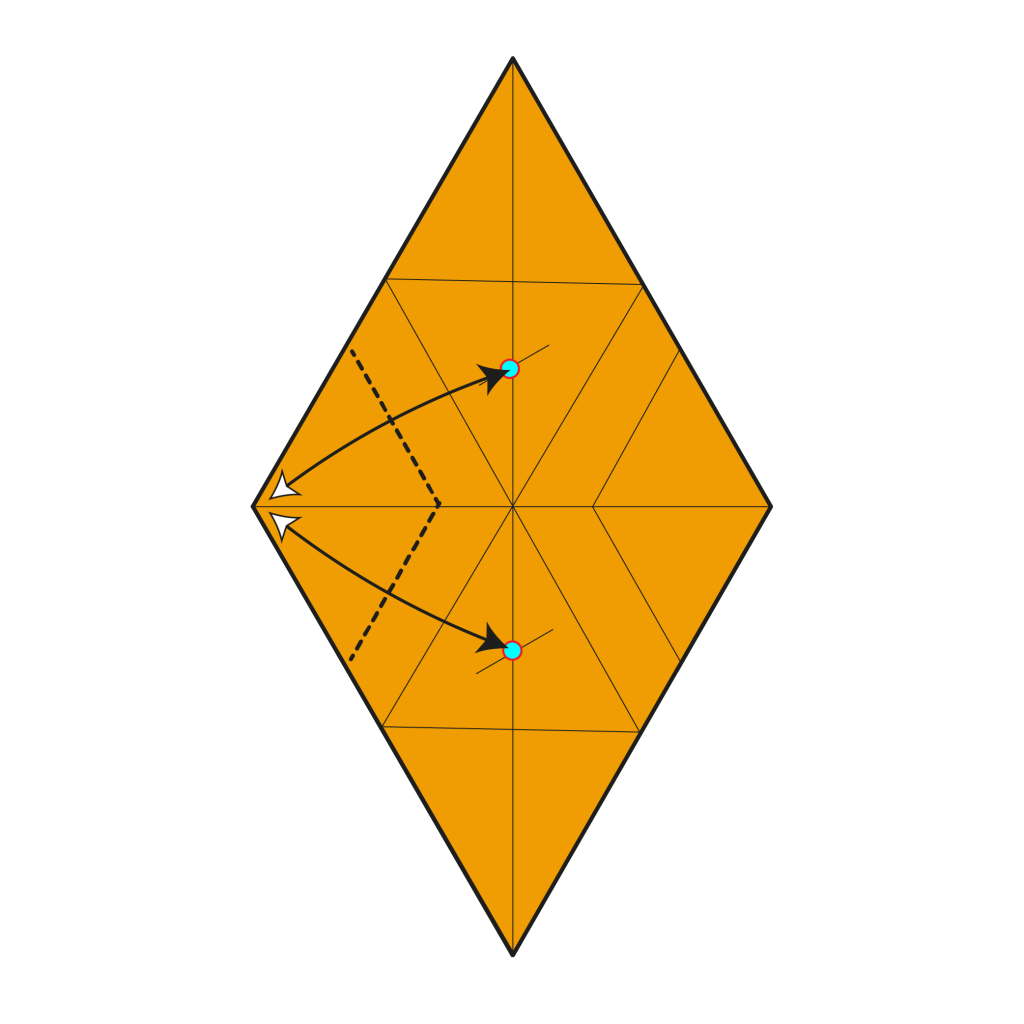
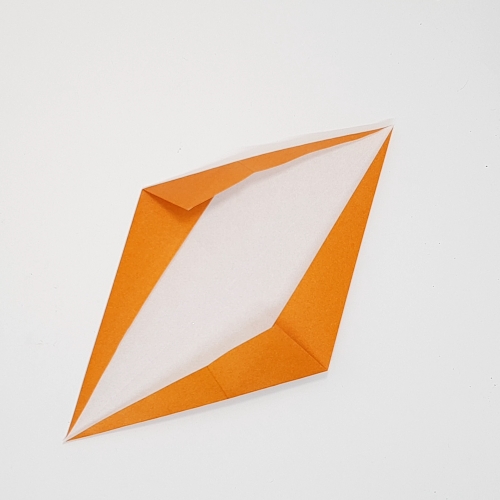
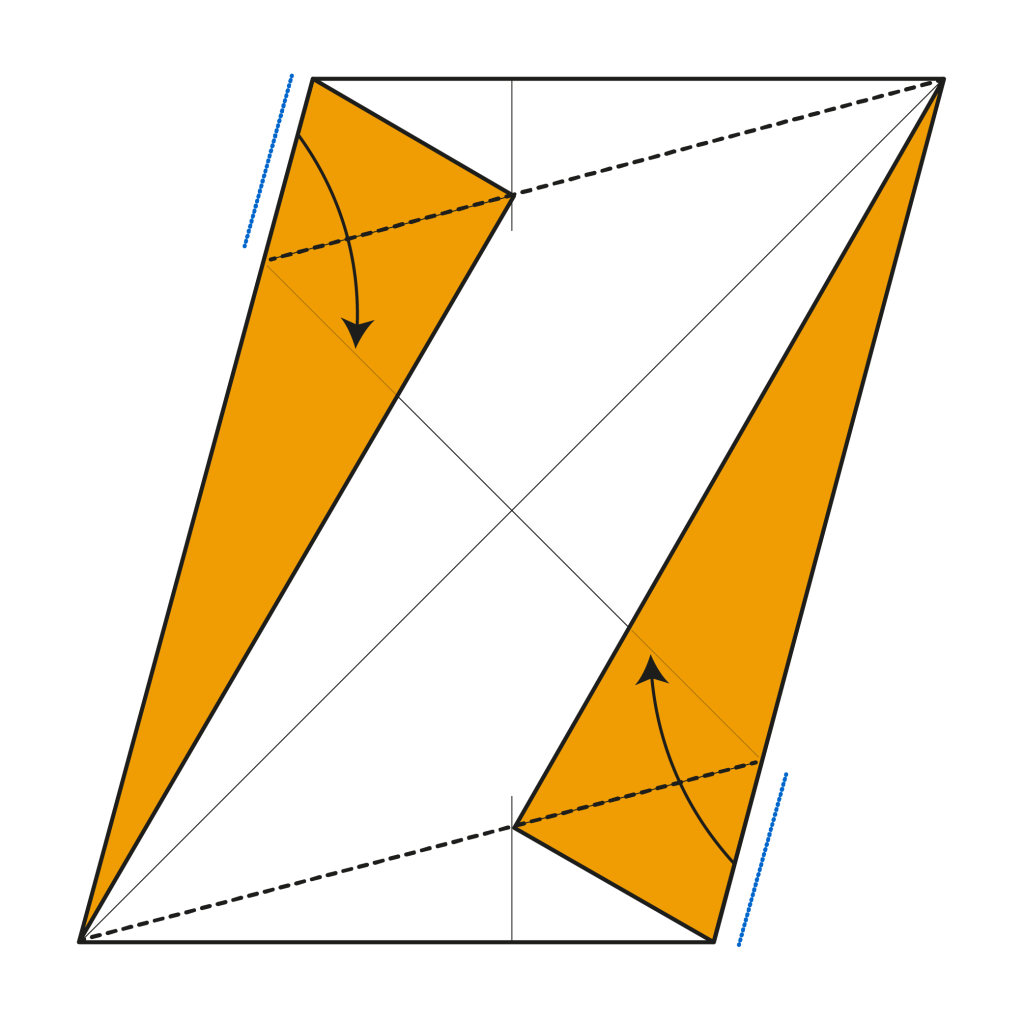
Bring the left corner inward to meet the new reference points and fold and unfold along the dotted lines.
Step 12
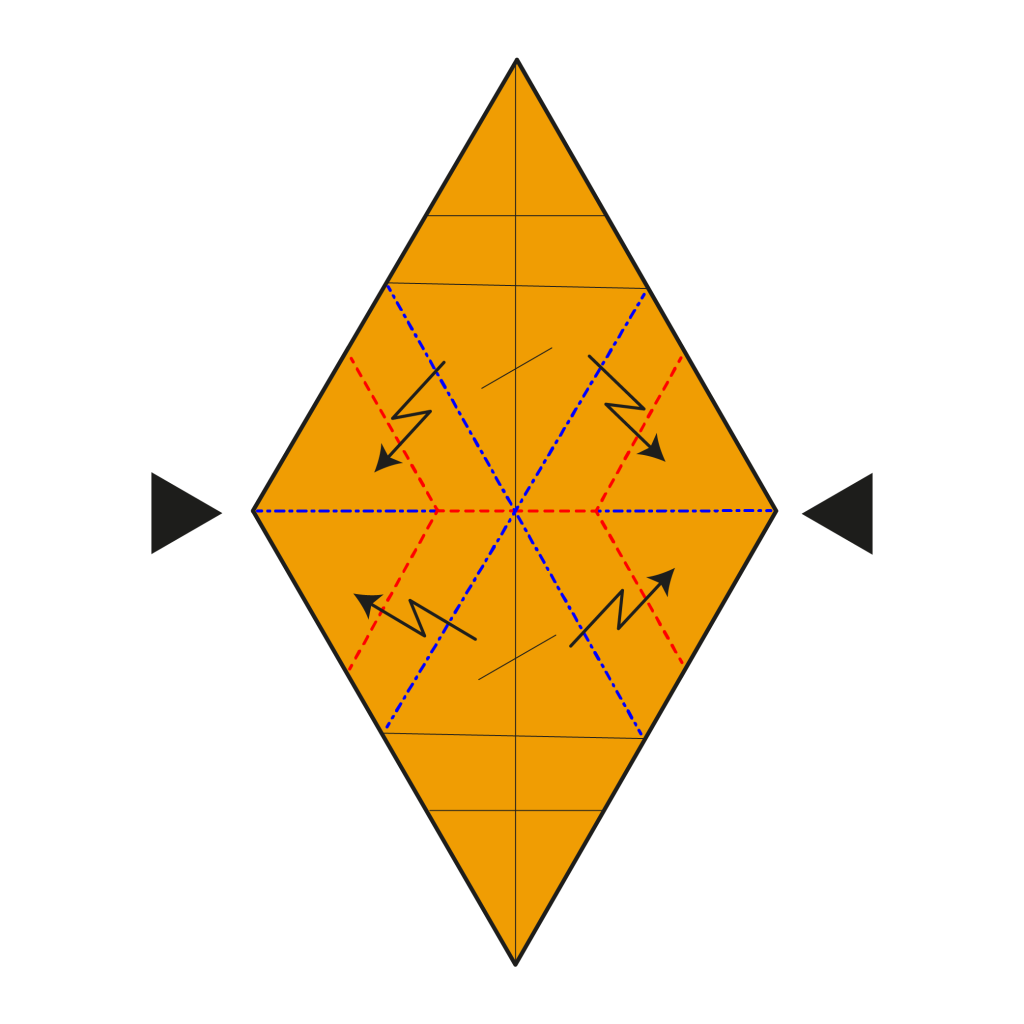

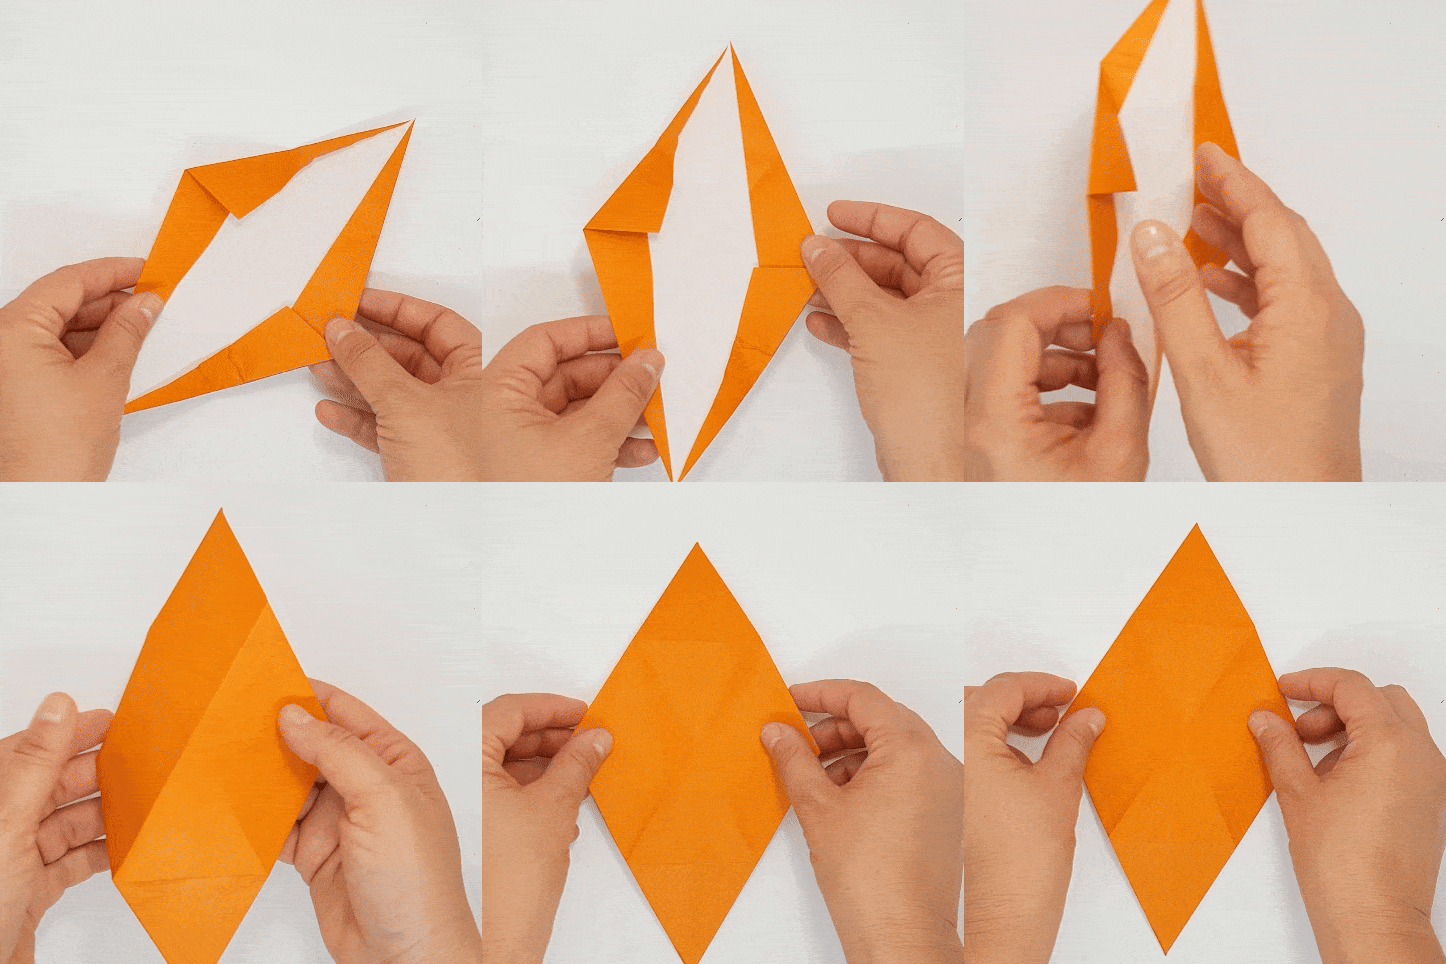
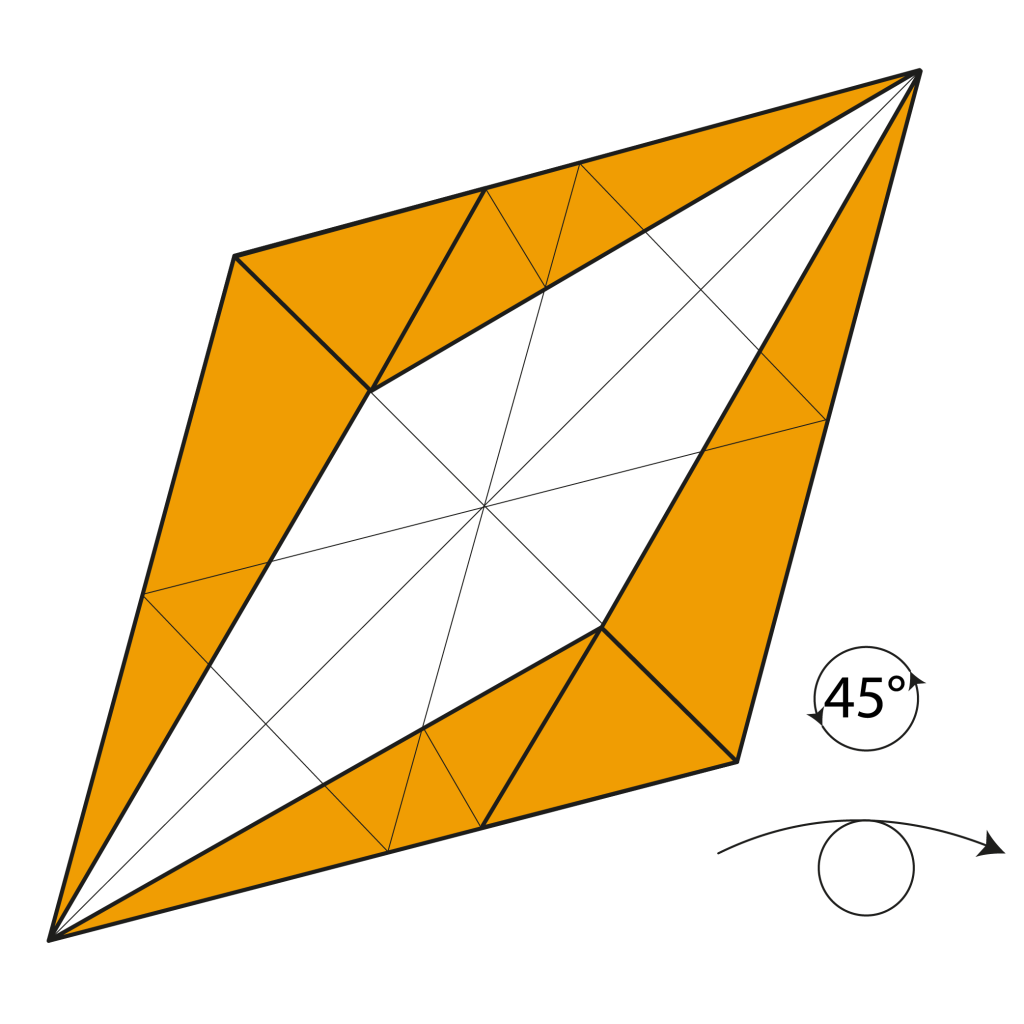
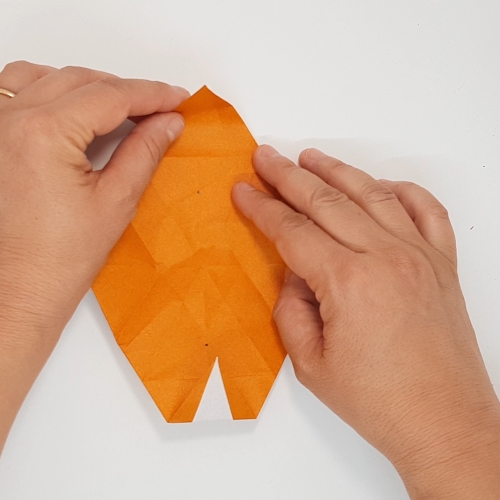
Collapse the model along the existing creases, as shown on the diagram.
Step 13
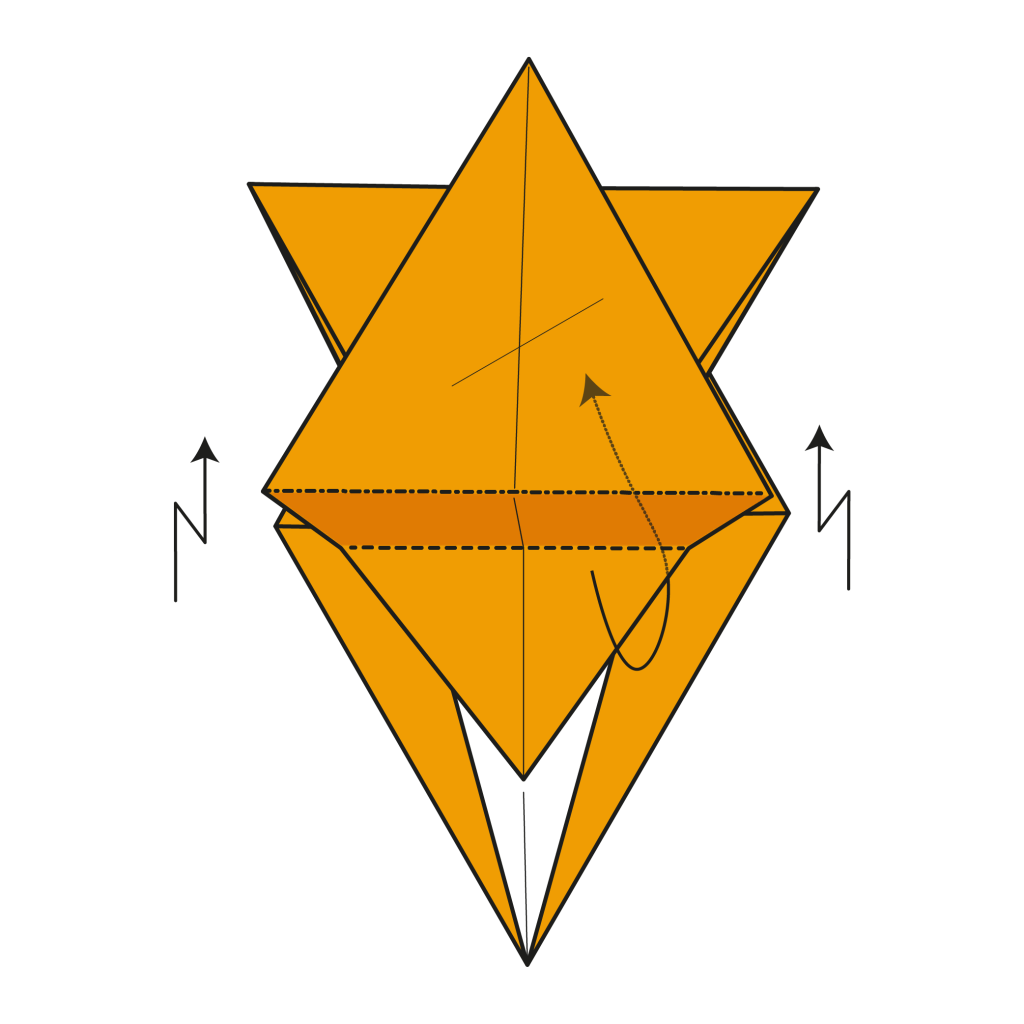
Pleat the top flap along the existing creases and tuck it under the surrounding flaps.
Step 14
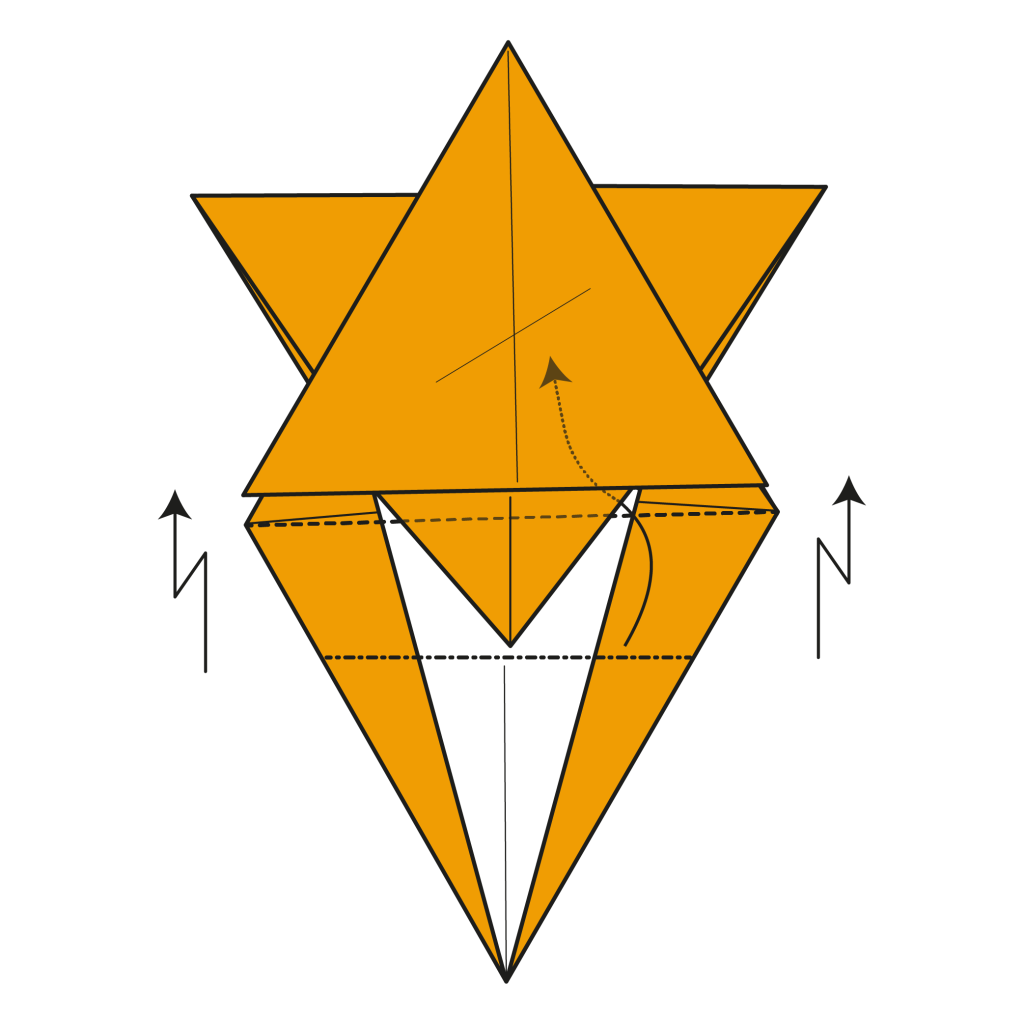
Pleat the remaining flap, but this time, tuck it over the two flaps on either side. This will lock the model and complete the final star point.
Congratulations on folding Shuzo Fujimoto’s 6-pointed star!
Whether you use it as a decoration, part of a larger display, or simply admire it as a piece of origami art, this star is a testament to your patience and skill.
We’d love to see your stars! Feel free to share your creations in the comments or on social media.
Download the Full Origami 6-Pointed Star Printable PDF Instructions
We’d love to keep you in the loop, so by sharing your email with us, you’ll be signed up for our mailing list. Don’t worry; we won’t bombard you with spammy emails, and your information is safe with us – we won’t share it with anyone else.
The post How to Fold an Origami 6-Pointed Star appeared first on Origami.me.


