
Looking to add little sparkles to your origami collection? The traditional origami lucky star, sometimes called a wishing star, is a fun and easy project perfect for beginners.
With just a few simple folds, you’ll create a charming 3D star that’s small enough to use as decorations, gifts, or even as part of a larger craft project.
To get started, you’ll need long, thin strips of paper—about 10 to 11 inches (25 cm) long and 3/4 of an inch (2 cm) wide for standard-sized stars. Thinner strips create smaller stars, while wider ones result in larger stars.
The key to a perfect paper star is keeping your folds neat and tight so it will puff up beautifully at the end.
Ready to fold your way to a pile of tiny origami stars? Let’s get started with this step-by-step guide!
Traditional Origami Lucky Star Step-by-Step Instructions
- Difficulty: Easy
- Folding time: Less than 5 minutes
- Model designer: Traditional
- Paper we used: Lucky star origami paper 24 × 1 cm (9 x 0.4 in)

Step 1
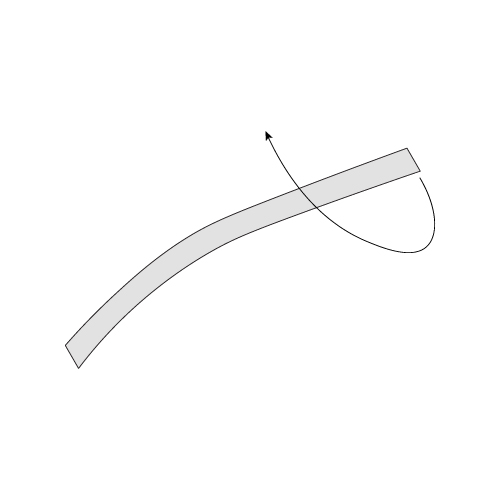

Start with a long, narrow strip of paper. The exact measurements are not important. Form a loop at one end of the strip.
Pull the loop through, leaving only a small strip of paper at the end.
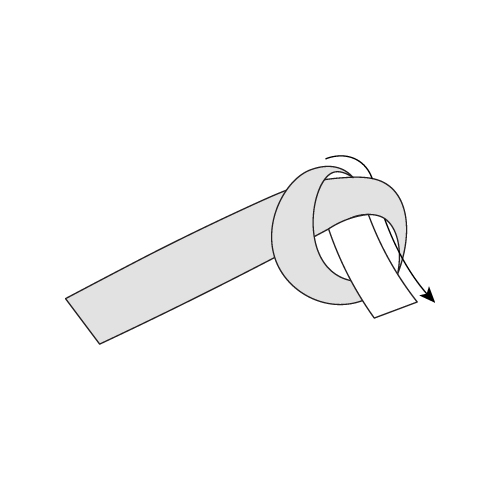
Step 2

Flatten the loop so that it forms a pentagonal shape.
Step 3
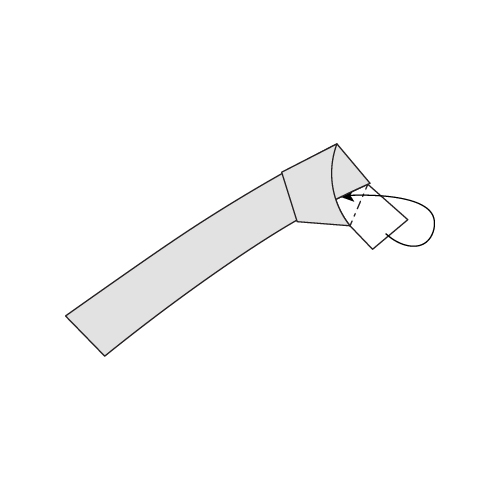
Tuck the remaining small strip of paper under the two top layers of the loop.
Step 4

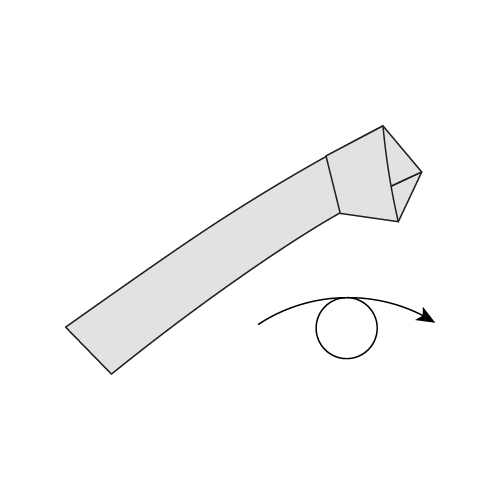
Flip the model around.
Step 5
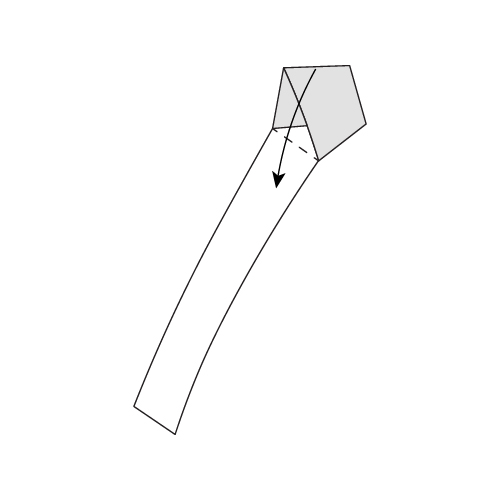
Fold the pentagonal portion down, aligning the top left edge with the width of the long strip.
Step 6
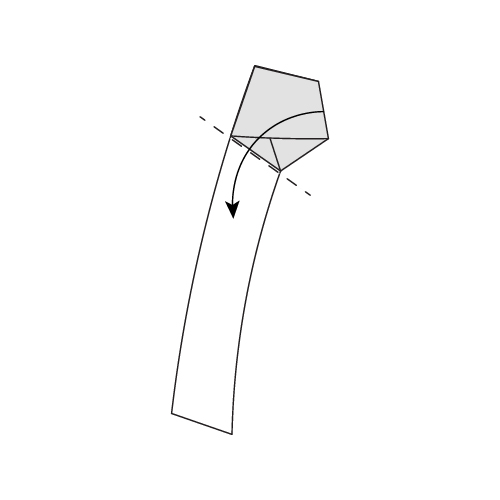
Fold down the pentagonal portion again, aligning the top right edge with the strip. Note that the edge being aligned is different from that of Step 5.
Step 7
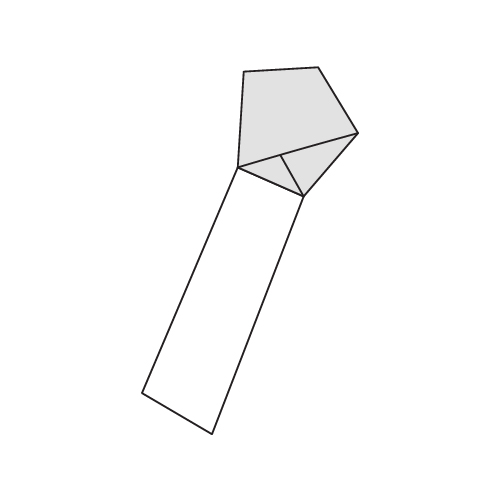
Continue to repeat Steps 5 and 6, alternating the edges that are lined up. Stop when there is only a small strip remaining.
Step 8
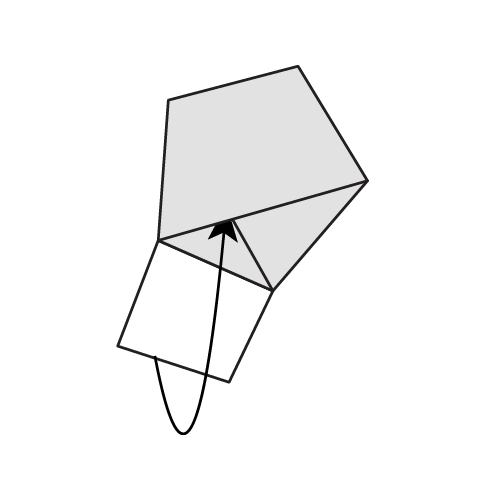
Tuck the small remaining strip under the top two layers, similar to Step 3.
Step 9
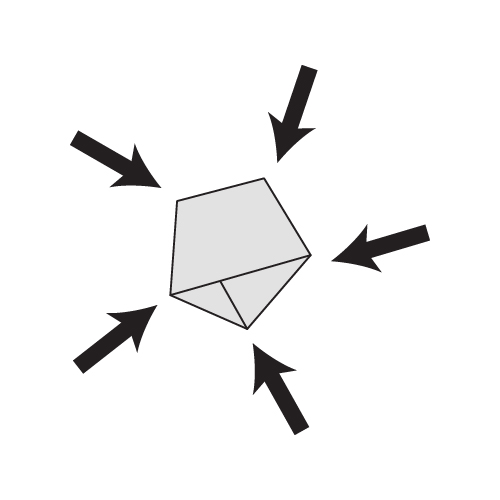
And now, the fun part! Pinch at the corners to puff up the star.
The Completed Origami Lucky Star
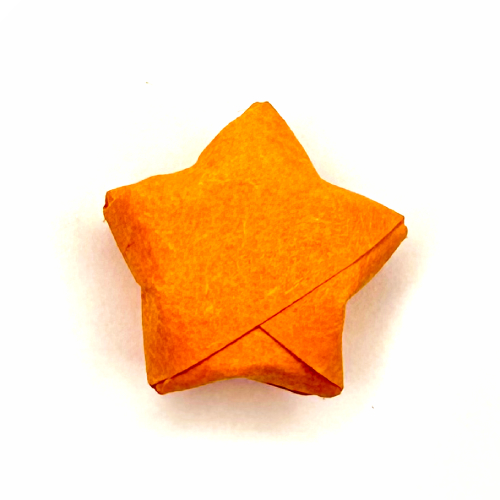

And there you have it—your very own 3-D paper star!
These stars add a touch of magic to any occasion. I hope you enjoyed making them and feel inspired to create dozens more.
Feel free to share your creations with us in the comments or on socials!
The post How to Fold a Traditional Origami Lucky Star appeared first on Origami.me.